")
With Easter fast approaching, there was one thing on my mind: what to have for dinner? It’s always nice to get together with the family and have a big meal! But it needs to be something special. I love a nice leg of lamb, and so does my father-in-law. Unfortunately, my husband and mother-in-law aren’t fans. That left me with my other favorite, a nice ham. I’m pretty fond of this Bourbon Orange Glazed Ham, but there’s only one ham that can top it. That’s right, the ham of all hams, a Honey Baked Ham. There are tons of copycat recipes to choose from, but this copycat recipe really sounded good to me. Let’s find out if it lives up to the name!
I am totally obsessed with this Copycat Honey Baked Ham Recipe! It is so simple and yet the results are absolutely insane. No wonder people pay $75 for these! Instead of glazing and roasting, we are rubbing it with dry sugar and hitting it with a kitchen torch. The crispy edges of this ham are like candy!
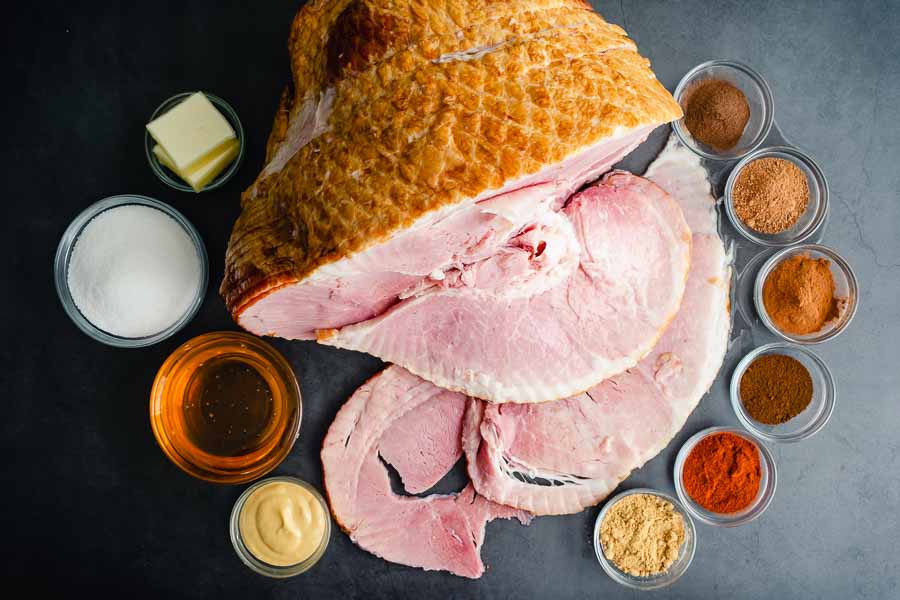
The Ingredients
My shopping list was very short because I had everything on and except the ham. Literally all the spices, sugar, and honey were in my pantry, and the butter and dijon mustard were hanging out in the refrigerator. If you’re wondering, I used Sir Kensington’s brand of dijon. I fell in love with it when I made Dijon Tahini Green Beans last Christmas, and I have kept a jar around ever since.
The spiral sliced ham came from my usual grocery store (Winn Dixie these days). It was about $19 for 9 pounds. A little more than I remember in years past, but nowhere near the price of a Honey Baked Ham.
The Process
The instructions with this recipe are pretty detailed, and they might seem intimidating because the recipe is 3 pages long. Don’t let the length fool you—this recipe is pretty easy to make as long as you have the right equipment. Here’s how my time was spent:
- 9 minutes to prep
- 2 hours 20 minutes to cook
- 15 minutes to rest
- 12 minutes to torch and make the glaze
- 2 hours 56 minutes total
Prep & Roast
The first thing I did was put my ham into a roasting pan with a rack. The recipe says you can use a wire cooling rack on a sheet pan if you don’t have a roasting pan with a rack. I would be cautious with this method because my ham produced a lot of juices. I’m pretty sure my sheet pans would have overflowed because they are rather shallow. A baking dish might be a safer option.
After that, I mixed up the 3-ingredient honey glaze and rubbed it all over the ham. I used one hand to tilt the top of the ham so I could work the glaze in between the slices on all sides. Then I added water to the roasting pan, covered it all with foil, stuck in a meat thermometer, and started roasting.
The recipe does say to roast the ham for 20 minutes per pound. My ham was 9 pounds, so that worked out to 3 hours. However, the meat thermometer beeped after 2 hours 20 minutes.
Dry Rub & Glaze
I made the dry rub while the ham was in the oven, and it only took a few minutes to measure out and mix the spices and sugar. Once the ham was out of the oven and cooled, I poured the juices into a fat separator and applied the dry rub while it separated.
This was the fun part! I put on my grilling gloves, carefully picked up the ham, and gently rolled it in the dry rub that I had put into a sheet pan. The ham was so tender I was afraid it would fall apart, so I had to be very careful with it. Then I spooned the remaining loose sugar onto the ham and torched it until it caramelized. The instructions on how to do this were spot-on, and I didn’t have any trouble achieving that tasty candy-like coating.
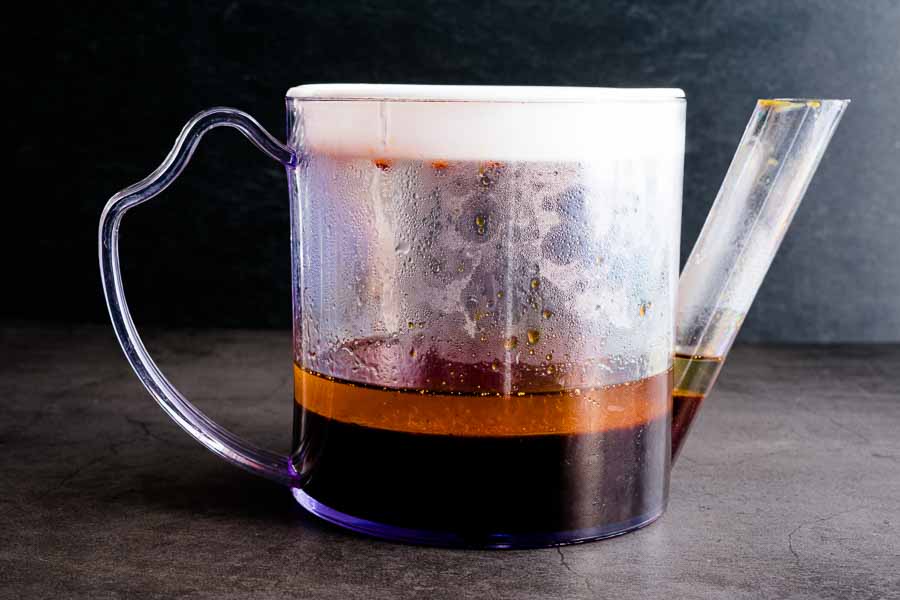
All that was left was to add 1/3 cup of the pan drippings to a saucepan with the rest of the dry rub and mix. The juices were already hot, so they dissolved the sugar very quickly. I had my glaze/sauce made in no time at all. All that was left was to plate the ham, pour the glaze into a small bowl, and serve.
Good read
Thanks 🙂