I have wanted to try this Kentucky Bourbon Vanilla Bean Pudding recipe for a while. Well, I should say try it again. You see, I gave it a shot about six weeks ago, which led me to discover my refrigerator was dying. I made the pudding and put the dishes into the fridge to set overnight. And they were still liquid the next day.
Two repairs, two additional breakdowns, and a lot of money later, I have a new refrigerator. Actually two new refrigerators. I bought a tiny little 1.6 cubic foot refrigerator to get us by while we waited two weeks for the new one to be delivered. Thank goodness for credit card points and Amazon Warehouse! The tiny fridge has been rehomed to our upstairs bedroom to hold cans of seltzer, and now it’s time to give this pudding another try. Here goes!
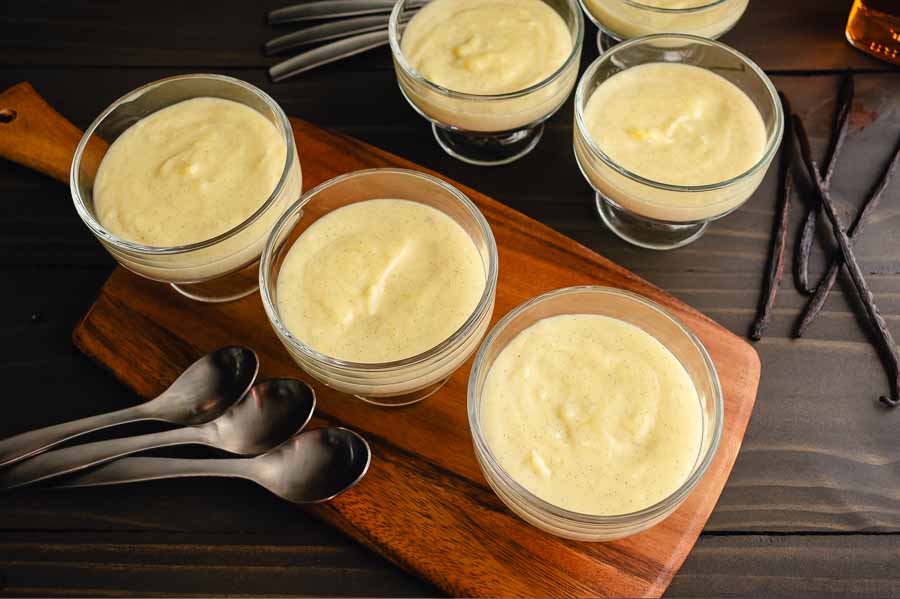
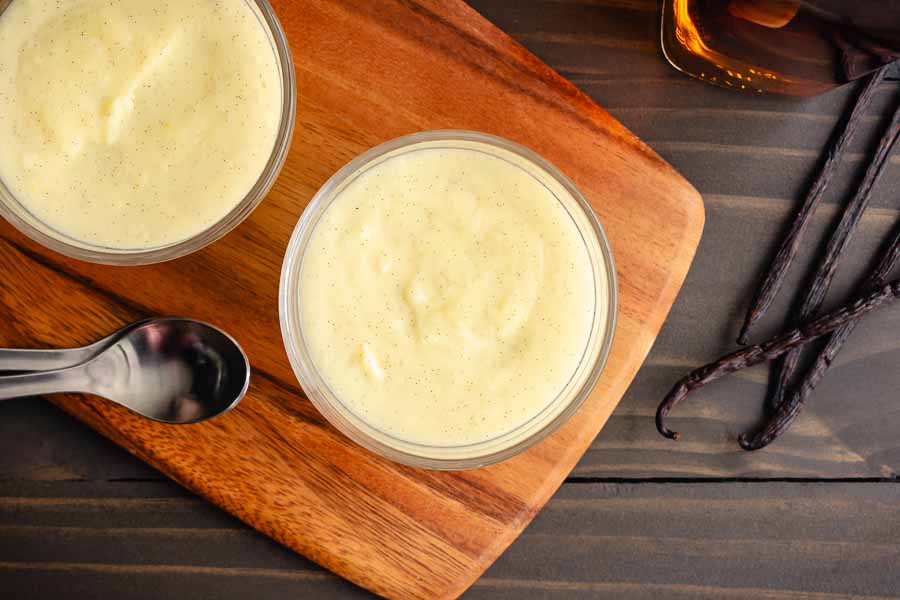
Kentucky Bourbon Vanilla Bean Pudding ~ this thick, classic, creamy vanilla pudding spiked with bourbon is an irresistible and comforting adult dessert!
The Ingredients
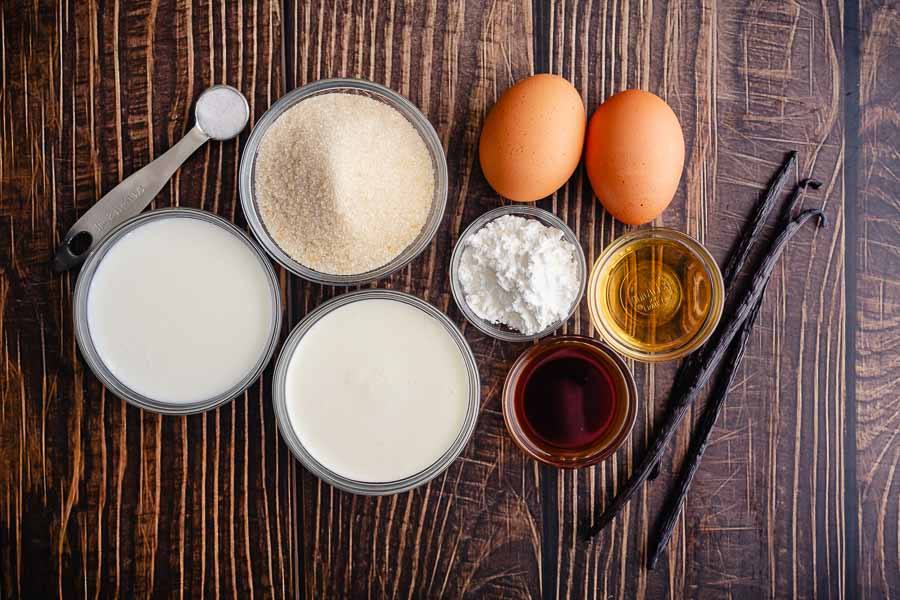
Shopping for this recipe was about the same both times. I had bourbon, sugar, cornstarch, salt, and vanilla extract on hand. There were even extra vanilla beans in my pantry although I don’t remember what from.
That left me to shop for the perishables. I had to buy whole milk, half and half, and eggs. A short shopping list that was easily filled at my regular grocery store. I don’t imagine it would be a problem in most grocery stores. You might even find all that at a well-stocked convenience store.

The Process
I’m glad I got a second chance at this recipe because I have a feeling the first one would have failed even if my refrigerator had been working. I’ll explain a little bit later…
Making this pudding was a simple process, but you have to follow the steps as they are written. I improvised the first time, and I think that was part of the problem.
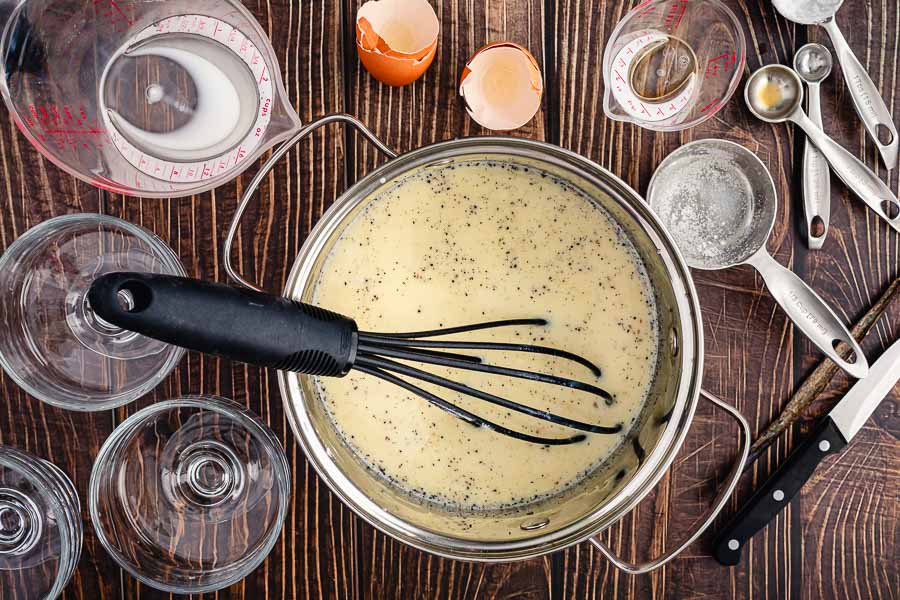
This pudding begins with simmering the milks and vanilla bean then they are poured into a heat-proof bowl of the dry ingredients. The eggs and last of the milk are added to the pan just before the liquid is drizzled into the dry ingredients. Then the lot is returned to the pan for more simmering until it thickens.
The first time I made this recipe I decided it would be quicker to simply add the dry ingredients to the pan. I also don’t think I let the mixture simmer for long enough because I was worried it would burn. I ended up with a thin, watery mixture at the end of my first try.
On the second try, I followed the recipe as written and had an a-ha moment. During step four, the final simmer and stir, I felt the pudding thicken. It seemed as if it was thin as water one moment and suddenly thickened in a flash.

Tip: The thickened pudding behaves like lava, so be careful! While it simmers, bubbles will rise to the surface and pop, splashing the hot liquid quite far. It makes a mess and feels lava-hot when it hits your skin. I used a large spatter screen to protect myself while I stirred.
Chilling
Once the pudding finished cooking I filled my dessert dishes and placed them into the refrigerator to set overnight. They seemed set when I checked about 90 minutes later, but I left them until the next day to be sure. By the way, the dishes hold 6.8 ounces, and I would say I filled them 2/3 full.
Tip: I set the dishes onto a sheet pan lined with a silicone baking mat to make moving them into the refrigerator easier. The mat kept them from slipping on the sheet pan and caught any messy drips. I did not cover the warm pudding, but I did add some clingwrap the next day.

Timing
This recipe listed 15 minutes to prepare and 5 minutes to cook, for a total of 20 minutes. Chilling time was not included, so I will not include it in the rating. As I mentioned above, the pudding seemed to be set after 90 minutes but I let it chill overnight. I’m also using the time from my second attempt at this pudding for the rating. Here’s how that time was spent:
- 18 minutes to prep and cook
- 2 minutes to fill the dessert dishes
- 20 minutes total
