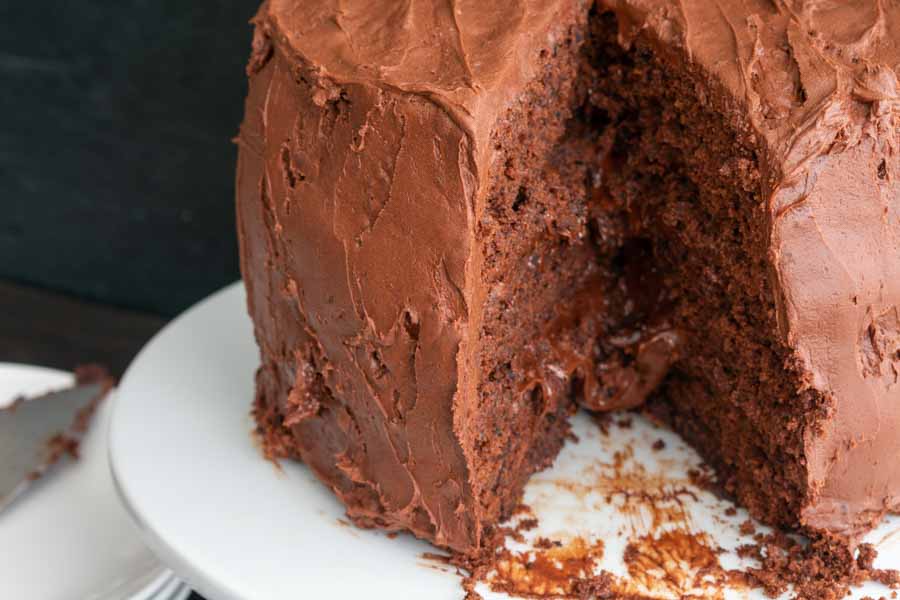
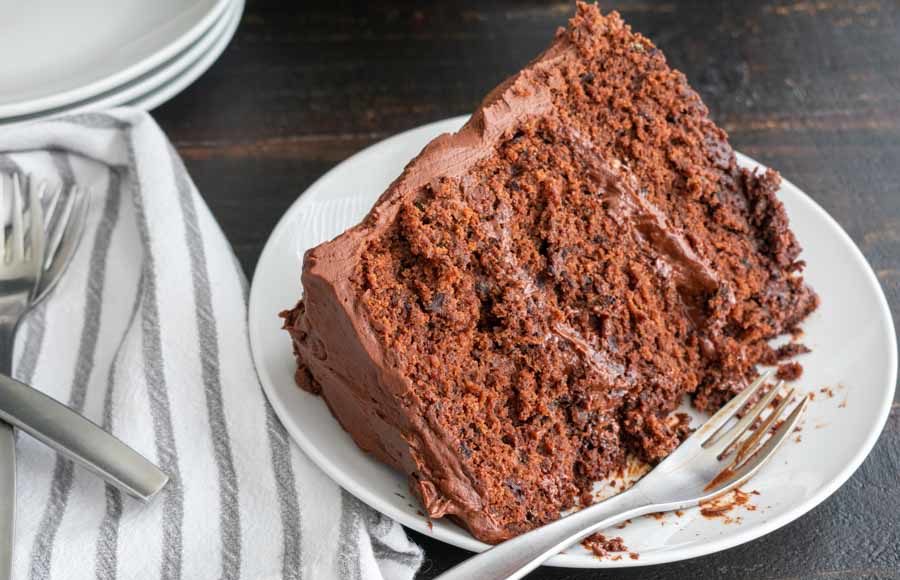
How good does Epic Chocolate Stout Cake with Chocolate Bourbon Sour Cream Frosting sound? I think it will indeed be epic, and I was looking forward to trying a slice tonight. Alas, it’s not to be 🙁 Y’all, it’s one of those days! It’s December 2020, and I’m working way ahead for my blog. This is a good thing, right? Not today!
I just royally messed up my first attempt at this recipe. I was grooving along to some music while I cooked, and I was having a good time. But I skimmed the recipe, didn’t pay attention, and either messed up or just skipped over a few steps. Then I cleaned up (baking is messy for me), nearly slipped on some water I spilled, and my garbage disposal just stopped in the middle of it all.
I got mad for the first time in a while, and that surprised me. But it was mildly cathartic, and I think I vented some pent up frustrations I didn’t realize I had with some angry dishwashing. But I’m over it, and I’m hitting the reset on Epic Chocolate Stout Cake with Chocolate Bourbon Sour Cream Frosting. I’m making a list of the ingredients I need to give this recipe another try. Without music. I’ll save that for recipes I’ve made before.
My chocolate cake will always be made with a nice chocolate stout.
The Ingredients
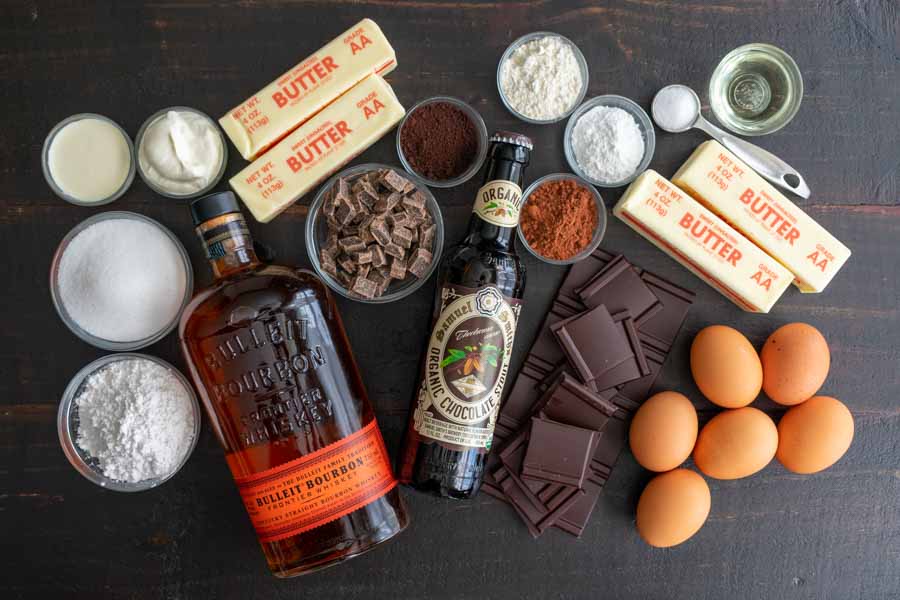
The ingredients list for this recipe wasn’t too long, and I had a few things on hand (as usual). I had to buy the dairy products, chocolate, and some extra sugar. But I wasn’t too concerned with finding any of that–most grocery stores sell this stuff.
The only ingredient I thought might require a special trip was the chocolate stout. But, happily, it didn’t. Whole Foods had a 4-pack of Samuel Smith’s, so I was able to include it in my regular weekly grocery order. Nice!
The Process
I’m not even going to talk about my first attempt at this cake since it was so bad and completely my fault. Let’s pretend it didn’t happen.
This recipe can be broken down into a few steps:
- Making the cakes
- Making the frosting
- Assembly
Making the Chocolate Stout Cake
You’ll need a mixer for this part, and preferably a stand mixer. Don’t worry if you don’t have one, though. It is possible to use a hand mixer instead (I did it for years), but a stand mixer will make it easier.
A few other items you’ll need are extra mixing bowls, a double boiler, and three 8-inch cake pans. The recipe does say you can use two cake pans and a muffin tin for the extra batter. You’ll end up with a shorter cake, but you won’t waste any batter. Nice!
Tip: Because of my previous mistakes (I know, I said I wasn’t going to talk about it), I kept a pen handy and checked off each step as I completed it. It really helped keep me on track this time.
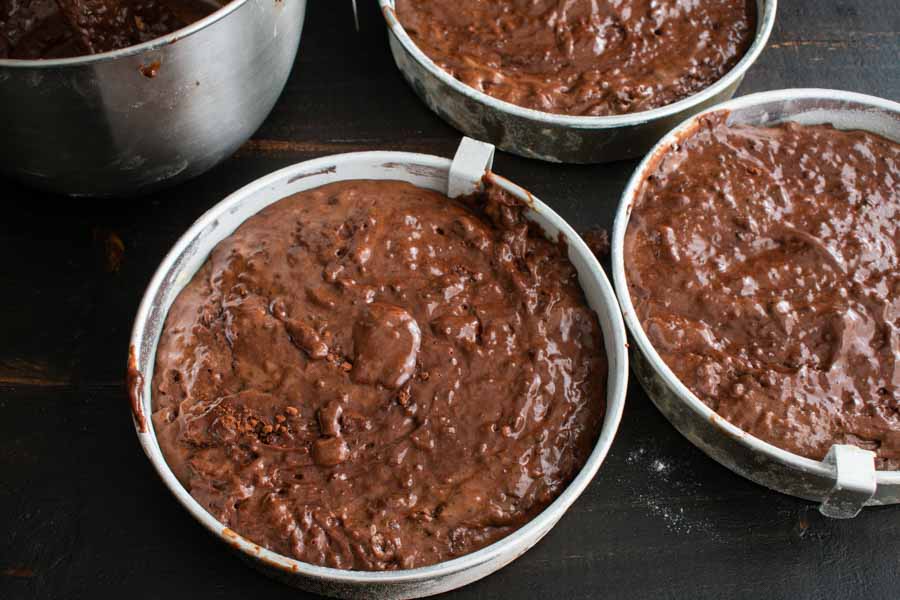
When I gave this recipe my full attention, the steps were easy to follow and took me 26 minutes. Most of this part was done with my stand mixer except for adding the dry ingredients. They were stirred in by hand, and I appreciated that. It was a lot less messy than mixing them with an electric mixer.
The recipe called for baking the cakes for 20-25 minutes, which sounded pretty standard. Unfortunately, my cakes didn’t pass the toothpick test after 25 minutes, and I had to add some time. The batter was still clinging to the toothpicks after an extra 10 minutes, but I pulled them out of the oven anyway. I didn’t want to overcook the cakes and dry them out.
Making the Chocolate Bourbon Sour Cream Frosting
I had some cleaning up to do while the cakes baked because I needed to reuse the stand mixer and double boiler to make the frosting. They cleaned up pretty quickly, though, and I was able to get back to work in just a few minutes.
Mixing up the frosting was very easy, but it did differ from the cake batter on one important point. This part required me to mix the powdered ingredients in the stand mixer which can get messy.
I took this part slowly and placed a tea towel over my stand mixer to minimize the mess. It wasn’t perfect, but it helped a lot. I had the frosting mixed up (relatively mess-free) in 15 minutes.
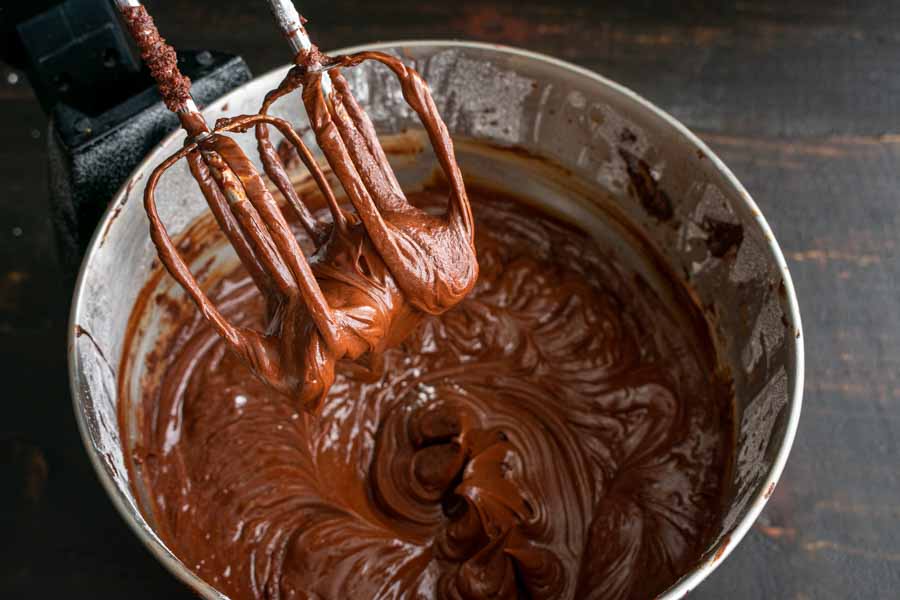
The cakes and the frosting were ready to cool around the same time. Cooling the frosting was simple: just place the bowl into the refrigerator. The cakes took a little more planning.
First, I let them cool on wire cooling racks for 30 minutes. The racks let air circulate around the pans, cooling them faster. After that, I turned each cake onto a parchment-covered plate and placed them all into my refrigerator. I let them cool in there for another half hour.
Tip: I left the frosting in the refrigerator with the cakes, and this did cause a slight issue when I frosted the cake. The very outside of the frosting that touched the metal bowl cooled more than the rest. It got a little chunky and was hard to spread. It wasn’t a huge issue, but it’s something to be aware of. Next time, I won’t’ put the frosting into the refrigerator with the cakes, not before.
Assembly
With the cakes and frosting chilled, it was time to assemble them into a proper cake. I was ready to go! I got out my cake stand and offset spatula and go to it.
It’s not listed in the recipe, but my first impulse was to level the cakes. I tried this on the first layer and quickly realized it wasn’t necessary. The cakes were all pretty level right out of the pans.
Assembly pretty much went as you would think, but I did have a little trouble getting the frosting smooth. The cakes were pretty crumbly, and the crumbs ended up in the frosting. I like to think of it as a little extra texture LOL!
Oh, and this recipe made up plenty of frosting, so there was no worry of a shortage. I was able to be pretty generous throughout the process. It helped hide the crumbs some.
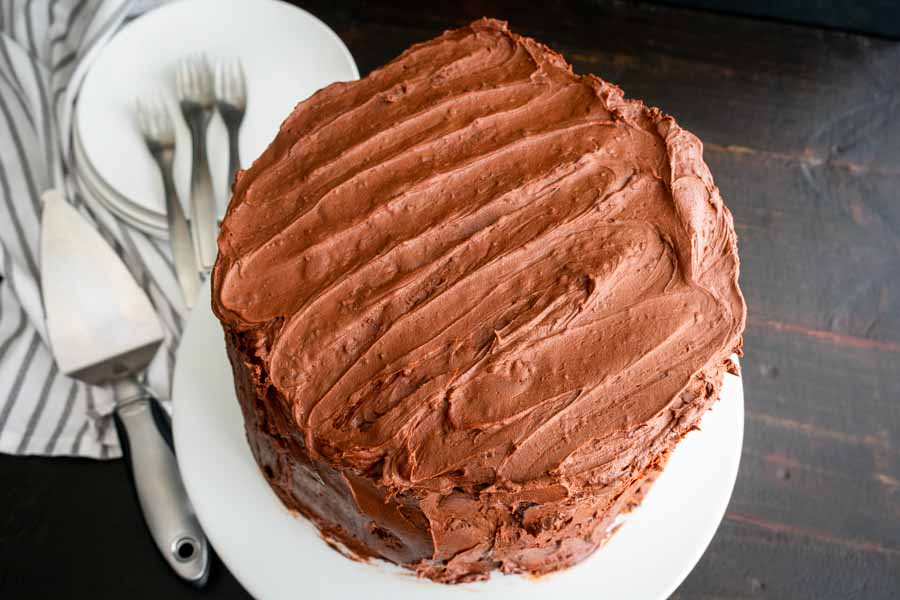
So how long did it all take? I’m glad you asked:
- 26 minutes to prep the cake
- 35 minutes to bake the cake
- 15 minutes to prep the frosting (made while the cake baked)
- 1 hour to cool the cakes and frosting
- 16 minutes to assemble
- 2 hours 17 minutes total
Oh, remember that toothpick test that I mentioned earlier? The cakes seemed solid when I removed them from the refrigerator, but they were still a little soft in the center. I couldn’t see it until I sliced into the cake for the photos. It was far from ruining the cake, though, and more or less created a fudgy center.
