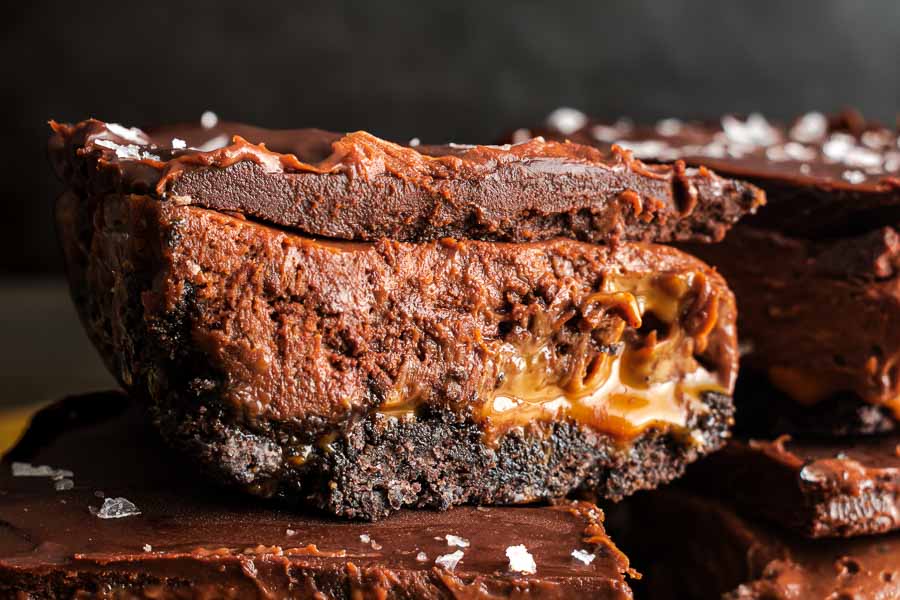
I have been eyeing this Dulce de Leche Chocolate Cheesecake Bar recipe for a long time. I have made dessert bar recipes before, but this looks like the granddaddy of them all! It has layers of Chocolate, cheesecake, dulce de leche, and a cookie crust in one dessert. What?! My only hesitation is the calories it must have. Well, I’m eating a lot of salads for the next few weeks to make up for this one because I have finally given in and tried it out. Let me tell you all about it!
A creamy, decadent version of chocolate cheesecake with an oreo crust, thick dulce de leche, perfectly whipped chocolate cheesecake and a silky chocolate ganache on top!
The Ingredients
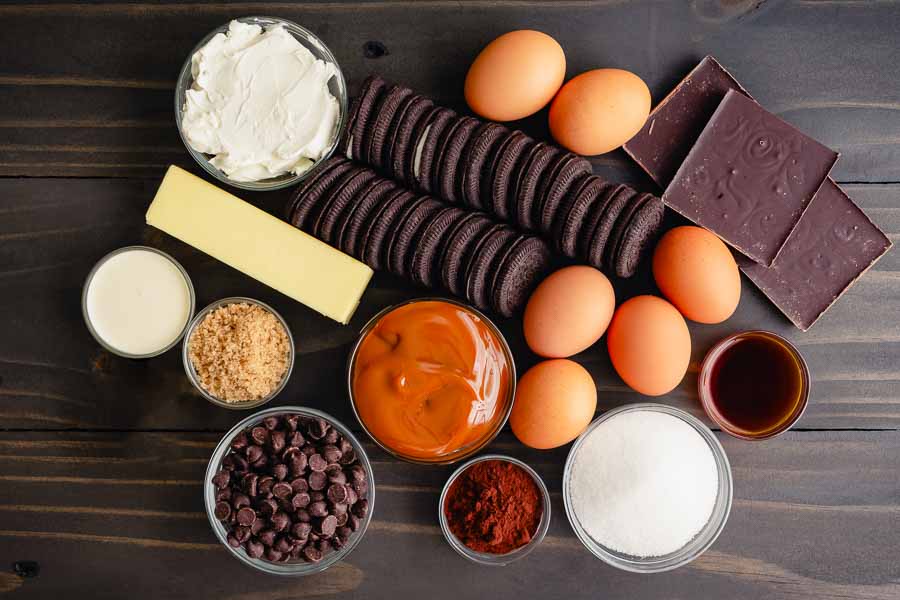
I checked through my kitchen before I went to the grocery store and found a few of the ingredients. I had cocoa powder, vanilla extract, granulated (white) sugar, and light brown sugar. I found everything else at my regular grocery store, but I did have a few questions.
First, the ingredients listed “1 can Dulce de Leche”. I couldn’t find it in a can, so I bought a 14-ounce bottle. It was odd since I have bought it many times and it has always come in a small can. When I got home, I was able to check and the regular can is 13.4 ounces. I ended up spilling some of the bottled dulce de leche, so I think the size difference worked itself out.
Next, I wasn’t sure how much “1 package Oreos” was. I bought the store brand, and it was a 15.5-ounce container. Name-brand Oreos come in 3 sizes: 13.29, 18.12, and 25.5 ounces. I was hoping the author didn’t mean the largest size! What I bought worked out just fine, but I would recommend the middle-sized 18.2-ounce container if you choose the name brand.
Tip: I bought my semi-sweet chocolate as chips so I wouldn’t have to chop it before melting it in a double boiler. It’s a real time-saver!
The Process
These Dulce de Leche Chocolate Cheesecake Bars have 4 layers of deliciousness:
- Oreo cookie crust
- Dulce de leche
- Chocolate cheesecake filling
- Chocolate ganache topping
I’d say the cheesecake filling was the most work, but it really wasn’t all that difficult. It just took the most ingredients and tools out of all the layers.
Making the Cookie Crust
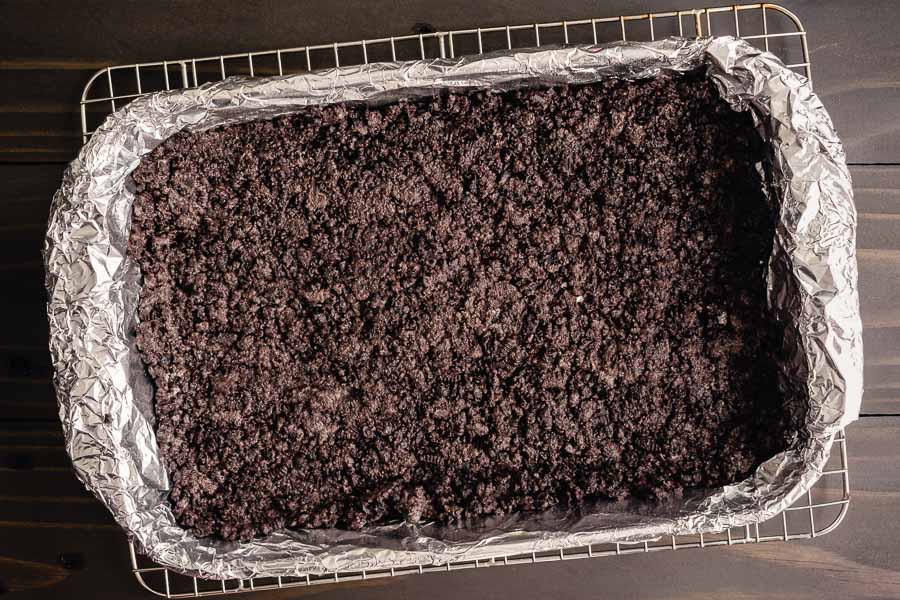
Like any layered, dessert, this one started at the bottom. The first step is to line a 9'x13' baking pan with foil and spray it with cooking oil spray. Tip: The foil still ended up sticking to the finished dessert bars, and it could be hard to remove all the pieces. I’m wondering if sprayed parchment would have worked better, but I haven’t tested it.
But back to making the crust… My microwave has a melt setting, so I put the butter in and worked on the cookies. After a few seconds in my food processor, the whole package was ground up with cream fillings and all.
I used an old-fashioned wooden spoon to mix the cookie crumbs and butter together before pouring them into the prepped baking pan. Tip: I used a metal measuring cup with a flat bottom to press the crust into the pan. It gave a neat appearance, consistent thickness, and was less messy than using my hands.
Making the Cheesecake Filling
I prepped the cheesecake filling while the cookie crust baked and cooled. The cheesecake goes over the cookie and dulce de leche layers, but the cookie layer needs to be completely cooled first. That gave me more than enough time to prep the cheesecake layer.
This layer was a combination of sweet German chocolate with semi-sweet chocolate. It starts with melting the two together in a double boiler. Tip: It’s not easy to tell when the chocolate begins melting without stirring it, so keep an eye on it the entire time.
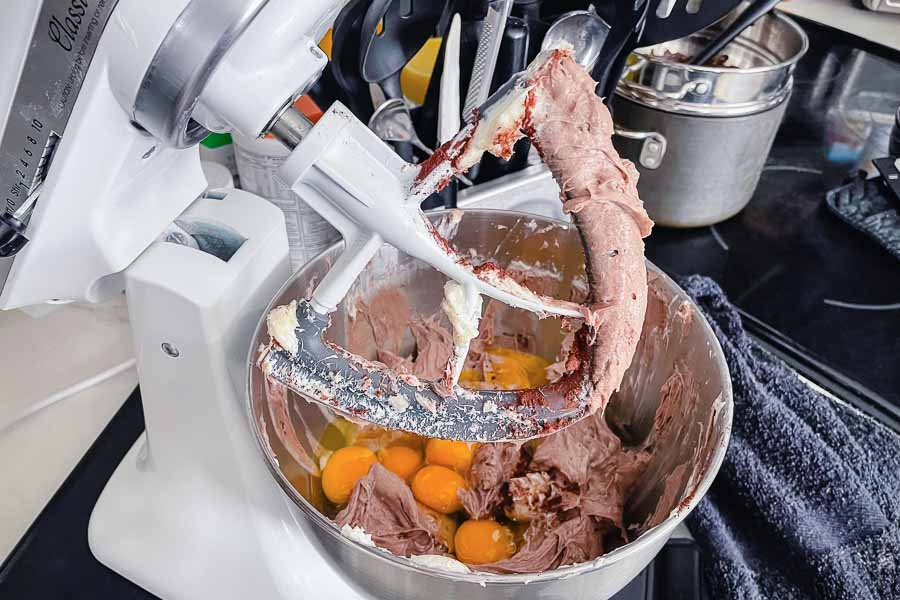
Once the chocolate was melted and set aside, I mixed up the cream cheese in my stand mixer with a paddle scraper. It didn’t eliminate the need for scraping with a spatula down the sides, but it helped.
The instructions guided me through combining and mixing the filling’s ingredients. The chocolate cheesecake filling was mixed up and ready to go into the pan before I knew it!
Adding the Fillings
The crust had cooled while I made the filling, so it was ready to go. The first layer of filling is the dulce de leche. Super easy since you just add it straight from the can, right? Not quite…
I bought my dulce de leche in a plastic bottle. It was so thick I wasn’t sure I would be able to get it all out of the bottle. My solution was to warm it a little in the microwave to make it easier to pour. I’m not sure, but I think I set it to 30 seconds on 80% power.
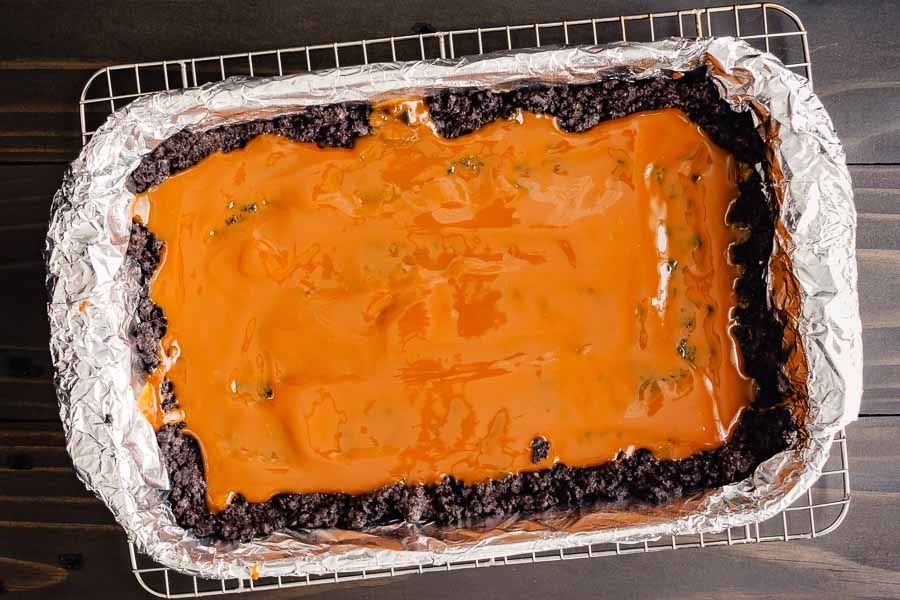
My little trick almost became a disaster when the bottle began melting and tipped over during the final seconds. thank goodness I watched it the whole time in case it bubbled up and overflowed! I caught it right away and only lost a little dulce de leche. And, I’m happy to say, that it poured out of the bottle easily.
After that, I simply spread the cheesecake filling over the dulce de leche and returned the pan to the oven for 30 minutes more. The center was very jiggly when I removed it! I wondered if it could possibly set once it cooled, but it sure did. The recipe says to allow 4 hours, but I let mine set overnight in the refrigerator.
Adding the Ganache
The final layer was the chocolate ganache. To make the ganache, I warmed the heavy cream and then poured it over some semi-sweet chocolate chips to melt them. Then the melted chocolate and cream are whisked together to make a semi-hard chocolate frosting.
I let the mixture cool for 5 minutes before pouring it into the baking pan. It was easy to spread evenly over the cheesecake layer using a silicone spatula. The final step was to return the pan to the refrigerator to let the ganache set for an hour.
Tip: I left the pan uncovered while the ganache set. I didn’t want to risk any moisture accumulating on the lid and making drip marks on the ganache.
Cutting and Serving
Once all these layers were refrigerated, they were a little tricky to cut. I used a chef’s knife and wiped it down after each cut to keep things as neat as possible. The ganache did crack a little, but it was fairly minor. And let’s face it, this is an ooey-gooey messy dessert!
It’s not mentioned in the recipe, but the photos had white sprinkles. I decided to sprinkle my Dulce de Leche Chocolate Cheesecake Bars with just a touch of Maldon sea salt flakes, and OMG! It was the perfect foil to all that sweetness!!
Timing
This recipe lists 30 minutes to prep, 30 minutes to cook, and 4 hours of inactive time, for 5 hours total. Here’s how my time was spent:
- 8 minutes to prep the crust
- 28 minutes to prep the cheesecake filling *
- 30 minutes to bake
- 4 hours to cool
- 13 minutes to make and apply the ganache
- 6 minutes to make ganache
- 5 minutes to cool
- 2 minutes to spread
- 1 hour to set the ganache
- 6 hours 19 minutes total
It seemed like I went way, way over the total time until I checked over the recipe again. I assume that inactive time is cooling, and that tracks with the time needed to set the cheesecake filling. It doesn’t seem to include the 1 hour to set the ganache topping at the end, though. Including that final cooling time would bring the listed time to 6 hours and that seems more likely.
* I let the crust bake for 10 minutes then cool while I prepped the cheesecake filling
