
When I decided to make French onion soup, I knew I needed a sliced baguette to add to it. You simply cannot have it without the bread and cheese topping! Of course, I got the idea to make my own baguette. I found this simple No Knead Bread-Baguette recipe and it sounded so easy. Well, things didn’t go quite according to plan, and I ended up using a store-bought baguette for my soup. Yup, this recipe was a big ol’ Pinterest fail the first time I tried it. It happens, but I had to give it another try. I’m new to making bread, and I used that failure as a learning experience. I’m so glad I did because I now know how to make baguettes, and they really are better when they’re homemade!
Homemade baguette is a true treat! Better yet, this recipe requires only four simple ingredients and absolutely no kneading.
The Ingredients
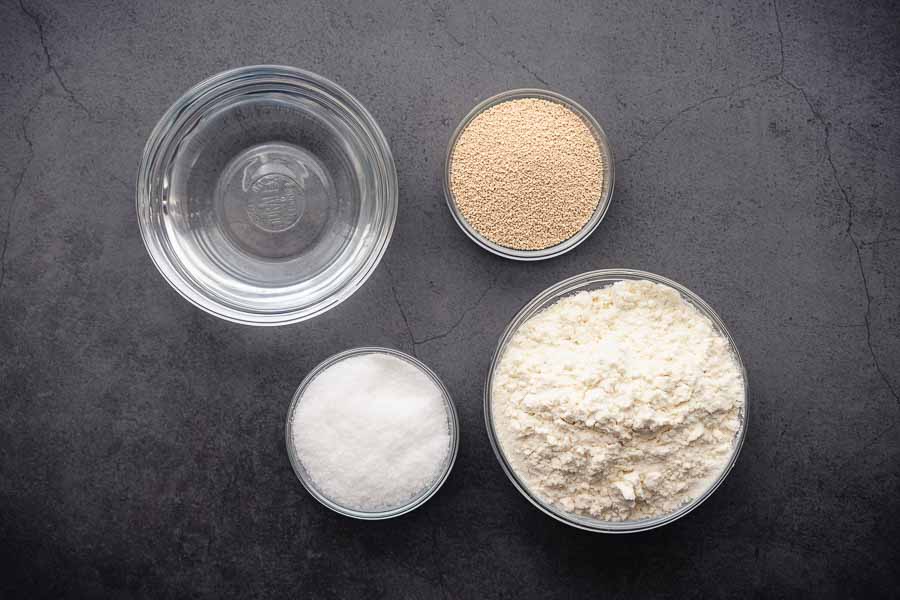
How simple is this recipe? It only has four ingredients, and one of them is water. The rest are all basics you should find at any grocery store: all-purpose flour, salt, and yeast.
I have taken to making Dutch oven bread pretty regularly, so I order instant dry yeast in bulk. It’s about the same price (sometimes less) as the 4-ounce jar I find in grocery stores, but a much 4 times as much (16 ounces). I store some in a leftover yeast jar in my pantry and keep the rest in my refrigerator. It has a 2-year shelf life, so I’m not worried about any going to waste.
The Process
This recipe took me a couple of tries to get right. The author does warn that you might need to use a little extra flour depending on its protein content. But being new to bread-making, I really missed the mark on my first try. I read the post, printed the recipe, added it to my blog posting schedule, and got to it a few weeks later. Of course, I had forgotten most of the post’s details and photos by that time…
My First Attempt at Baguette
I mixed the ingredients as instructed, using the amounts given. My stand mixer didn’t have any trouble handling the dough, but it didn’t come together. I added a 1/4 cup extra flour and got it somewhat shaggy but still not together enough. But since I didn’t check the photos in the post as I was cooking, so I didn’t realize there was a problem.
I left the dough to rise overnight and tried to shape it the next day. This is when I realized something was wrong. I managed to shape the dough, but it just melted once I had it on the sheet pan.

I thought about trying to fix it with more flour and another overnight rise, but I knew there was no hope. I tossed this batch and almost gave up on this recipe.
My Second Attempt (Success!)
I hate to be defeated, so I gave No Knead Bread-Baguette a second try a week or so later. This time I had reviewed the photos in the post and had a better idea of what the dough should look like. And I had a plan.
I mixed the dry ingredients and slowly added the water. Instead of adding extra flour, my plan was to add just enough water to make the dough come together. Unfortunately, I added just a little too much water (2 2/3 cups) so I had to add some extra flour after all (just 3 tablespoons).
The dough came together into a ball that looked like the photos in the recipe’s post. Success! I covered it with a tea towel and let it rise overnight. Tip: I don’t have a lot of counter space, and my house is quite chilly. I put the covered bowl into my microwave to rise. The small space kept it warm enough and got the bowl out of my way.
The next day I found the dough had risen almost to the top of the bowl:

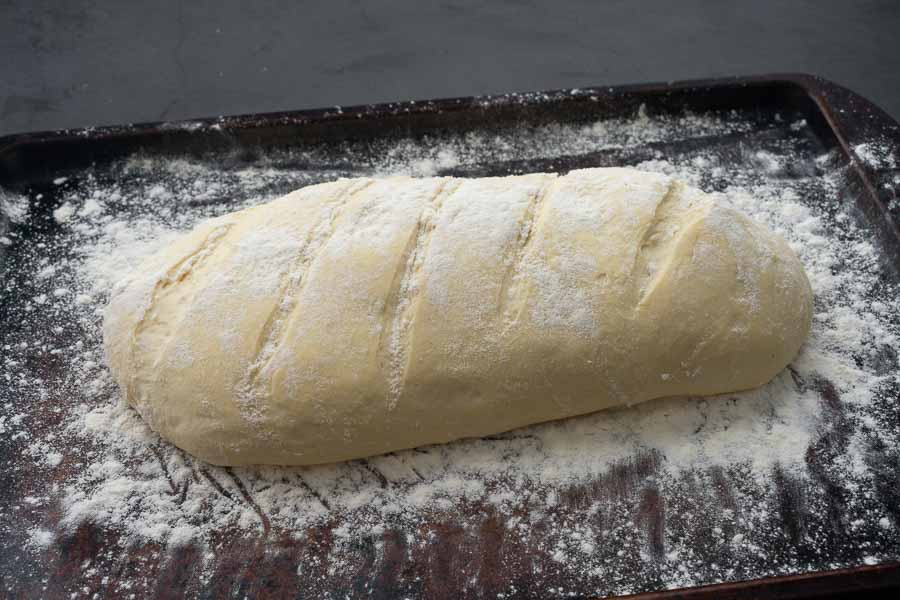
This time shaping the dough didn’t result in a puddle. I had legit-looking baguettes, complete with slices courtesy of a freshly cleaned spare Exacto knife refill I found in my desk.
I sprinkled them with flour and let them rise for an hour. When I checked them they hadn’t risen, and I was worried. I figured the cool temperature in my house was to blame.
Tip: I decided to pop the sheet pans into the top rack of my oven (it wasn’t on). I added a small container of boiling water on the rack below them and let them rise in a warmer space for another hour. It did the trick, and both baguettes rose significantly.
I removed the dough and container of water from the oven and preheated the oven.
Tip: Since both of my baking sheets were in use, I used a roasting pan to hold the boiling water for baking. The large size was similar to the area of a baking pan, and I felt it was safer due to the high sides—splashing boiling water around is not a good idea.
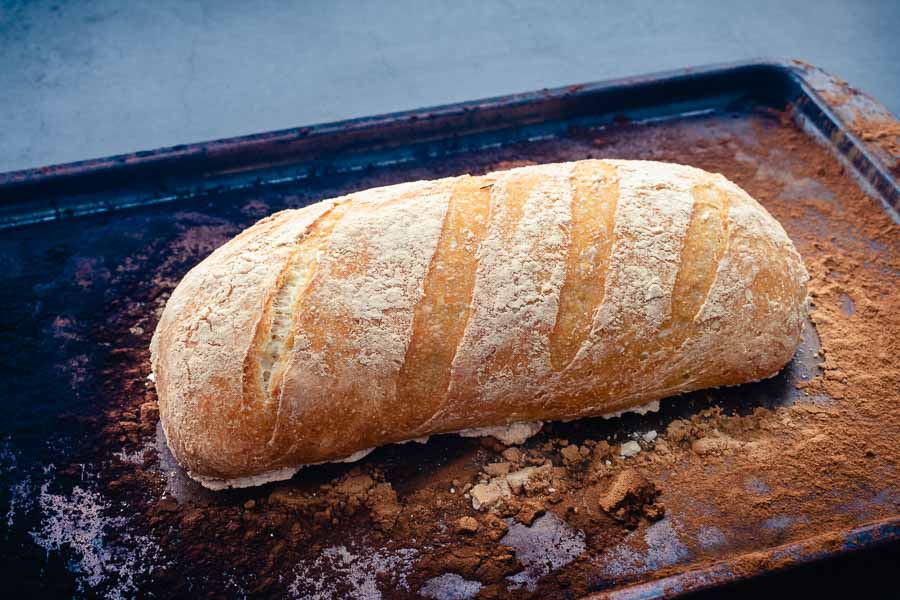
I removed the pan of water after 10 minutes and let the baguettes continue baking. They were a beautiful golden brown after another 20 minutes.
How long did it take?
I’m so glad you asked. Here’s how long I spent on my successful attempt at this baguette recipe:
- 7 minutes to mix the dough
- 4 minutes to shape the dough
- 2 hours for the second rise
- 30 minutes to bake
- 2 hours 41 minutes total (not including overnight first rise)
The times given on the recipe are 25 minutes for prep, 40 minutes to cook, and 1 hour 5 minutes total. It looks like that doesn’t include time for either rise. If I omit that, my times would be 11 minutes to prep, 30 minutes to cook, 41 minutes total. It’s a little off, but well within the times given. I’m always okay with a recipe that takes less time than what’s stated!