Today is Blueberry Cheesecake Day, and I felt the need to celebrate! I did consider going all-out and making a blueberry cheesecake, but then I happened upon these Blueberry Cheesecake Cookie Cups. They promise all the yumminess of blueberry cheesecake without as much work. I liked the sound of that! And, let’s face it, they’re pretty cute. Now all I need to do is find that muffin pan…
These Blueberry Cheesecake Cookie Cups make the perfect use of those fresh summer berries!
The Ingredients
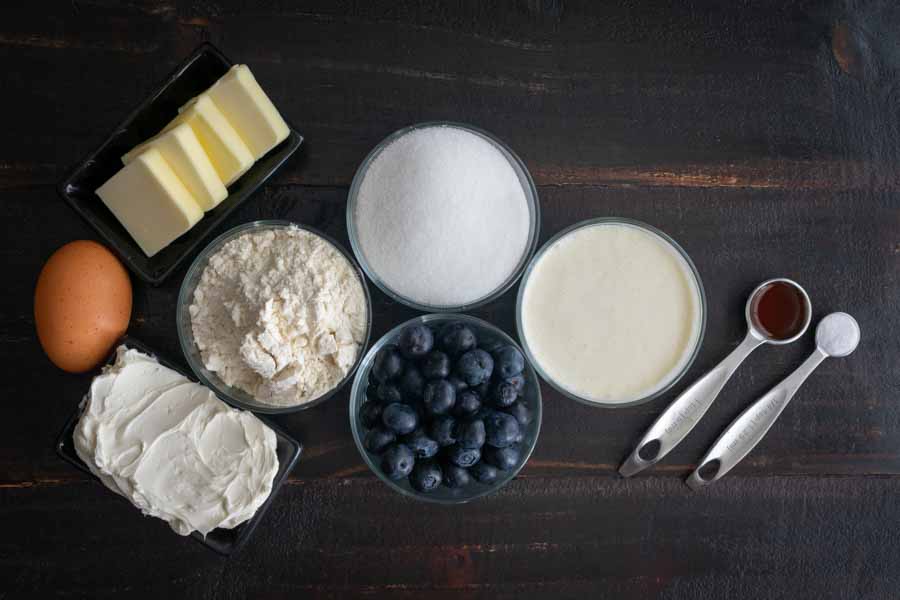
I expected the ingredients list to be pretty long since this recipe has “cheesecake” in the title, but I was pleasantly surprised. There aren’t too many ingredients in this recipe, they’re all pretty basic, and none were terribly expensive.
I had several items in my pantry–mostly the non-perishable ingredients. That left me to purchase the blueberries and dairy items, with the blueberries being the most expensive item at $6 for one pint (about 2 cups).

The Process
Making these Blueberry Cheesecake Cookie Cups was a two-part process: the cookie cups and the filling. The recipe lists the total time at 2 hours 40 minutes, but mine took slightly longer. Here’s how my time was spent:
- 51 minutes to prep and bake (time to cool cookie cups not included)
- 4 minutes to fill and garnish
- 2 hours to chill
- 2 hours 55 minutes total
The Cookie Cups
Prepping the cookie cups was a straightforward process, and my stand mixer came in handy. I had the batter mixed up in no time at all.
Even though I didn’t break out the time for the cookie cups from the total prep and baking time, I have a feeling they were the reason it took me longer than the time listed on the recipe. I had trouble in two spots, with one for sure being my fault.
The first delay was in scooping the batter into the muffin pan. I don’t have a large cookie scoop, so I used a measuring spoon. That worked, but I had to scoop three times per cup.
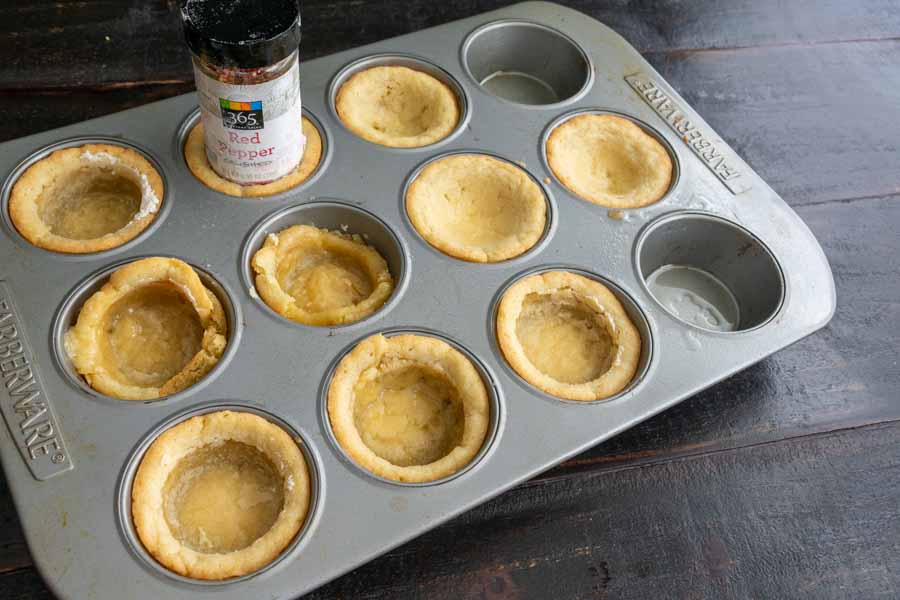
The second delay came when I tried using a spice jar to make the cookie cups. You can see my first attempt in the middle, below. The batter stuck to the jar, and the cup wasn’t much of a cup. In fact, that picture is after I “fixed” it. It was much worse on my first try!
The cup to the left of it was my second attempt. I sprayed the jar with cooking spray before trying to press it into the cookie. It turned out better, but there was still a lot of sticking.

What worked? I poured some flour into a ramekin, sprayed the jar with oil, and dipped it into the flour. Then I tapped off the excess and used the floured jar to create the cups. It worked! I had to dip the jar into the flour and tap off the excess for each cup (no need to re-spray it after the first time), though, and I’m sure that slowed me down.
The Filling
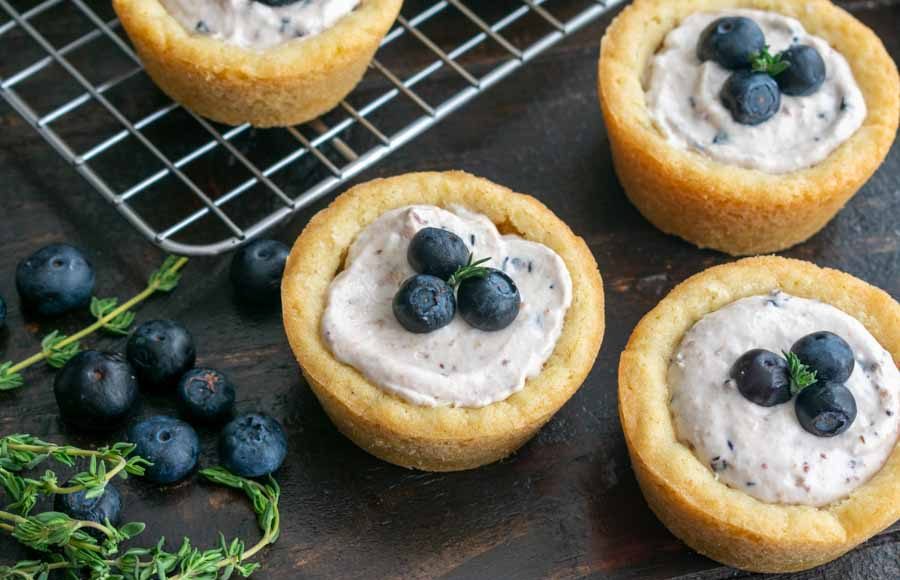
I rinsed off my stand mixer’s bowl and beaters while the cookie cups were baking. Then I got started on the filling while they were cooling. This part was very easy to do, and I didn’t have any hiccups. I even had enough time to snip off some fresh thyme leaves to add a little green to the garnish.
The cooled cookie cups were still kind of soft (especially the two I messed up), but they were firm enough to fill. Piping the filling and garnishing were very fast and easy at four minutes, then it was into the refrigerator to chill for two hours.
