
I came across these Monster Truffles when I was searching for a Halloween-themed recipe. They were so stinking cute that I couldn’t pass them up! It’s been a while since I have tried a recipe for truffles, and these are different than any of the recipes I have tried. Plus I love the color purple, so that was another point in their favor. The recipe sounded simple enough, so I went ahead and ordered the ingredients so they would be here in plenty of time. I didn’t want to miss out on the Halloween fun!
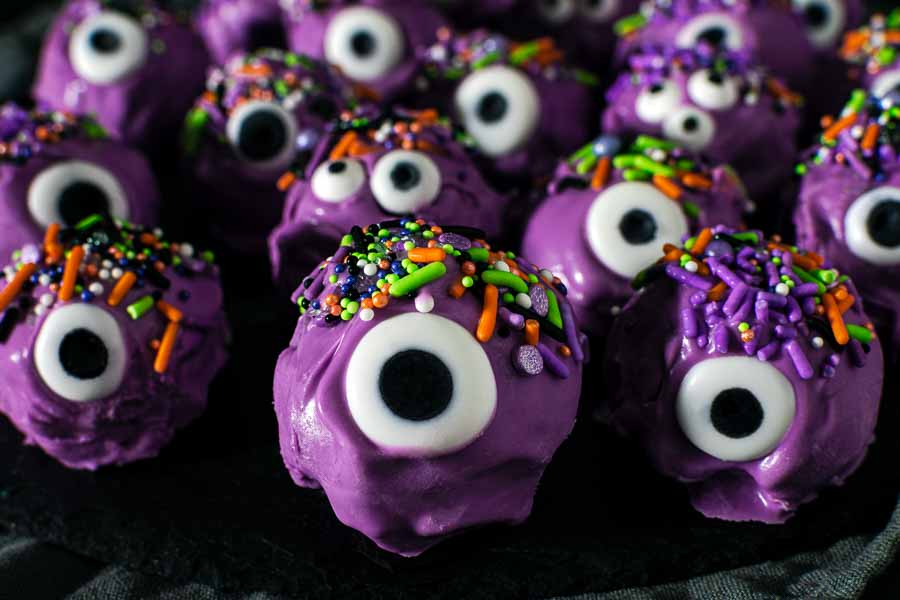
Monsters, Inc. is one of my all-time favorite movies and these little guys definitely remind me of a monster you’d see from that movie! One big eye and some sprinkles on top — these couldn’t be easier to make!
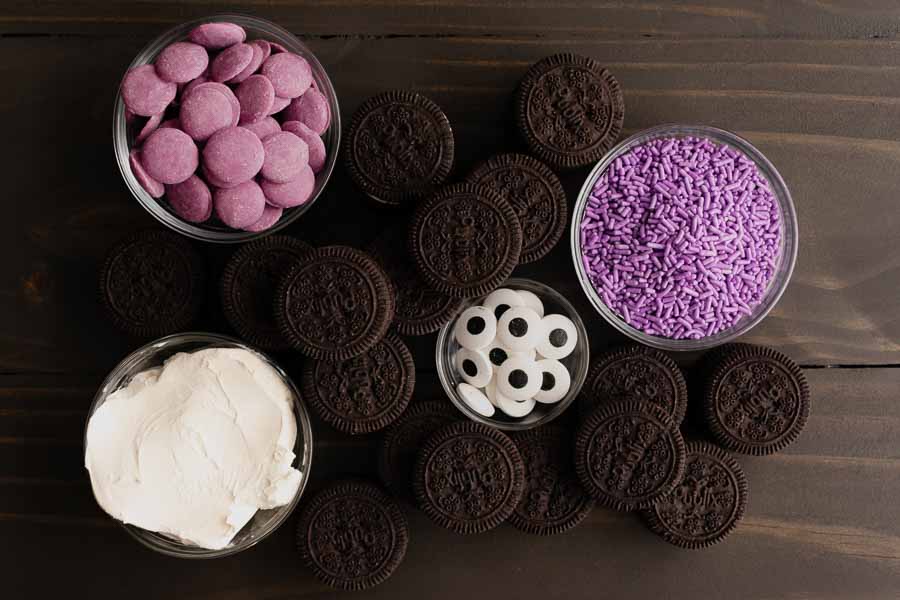
The Ingredients
There were only a few ingredients in this recipe, but I had to buy them all. The cream cheered and sandwich cookies were easily found at the grocery store. I did look for Oreos, but they only had the double stuff and flavored versions. To stay as true to the recipe as possible, I ended up buying a 15.5-ounce package of generic sandwich cookies.
I had to order the lavender candy melts, lavender sprinkles, and large candy eyeballs. What I didn’t realize is the grocery store isn’t the only place to find them. Local craft stores carry baking supplies, and I found lavender candy melts at JoAnn Fabrics for much less. Their prices on candy eyeballs and sprinkles were lower too, but they were out of both.
The Process
I have to be honest and tell you I went into this recipe thinking it wouldn’t be a challenge. I have made truffles in the past, and while I’m not the greatest at it I didn’t do too badly. This was a simple recipe with just a few ingredients and steps, but there were some challenges for me.
My First Try at Monster Truffles
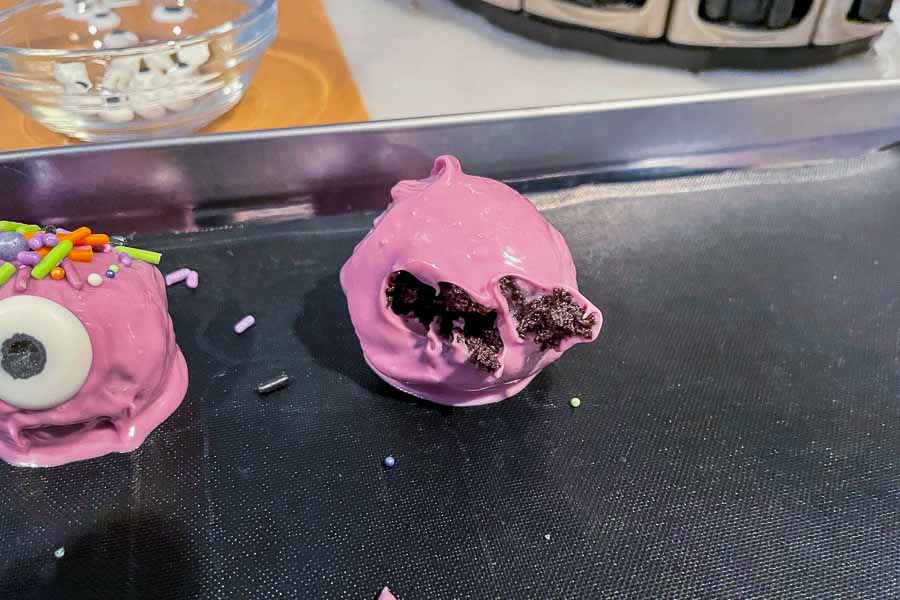
Making the truffles was very easy! I dumped the package of Oreos into my food processor and pulsed to grind them up. There were still some larger chunks, so I put it on for about 1 minute to really grind them up. The result had the texture of potting soil which was perfect.
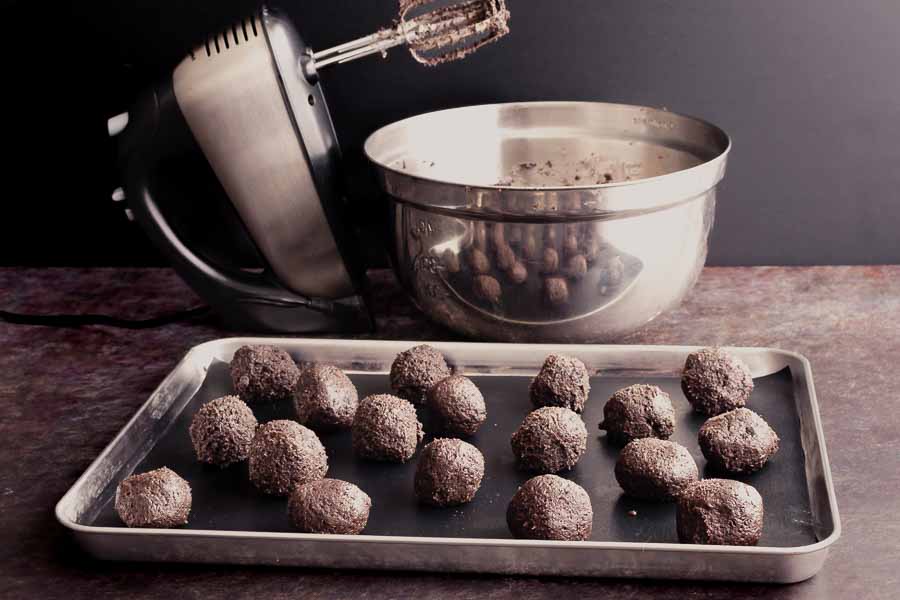
Next, I added them to a large mixing bowl along with the cream cheese. It only took a few moments to blend them together with a hand mixer. I ended up with 18 truffles after I rolled the mixture into roughly 1 to 2 bite balls.
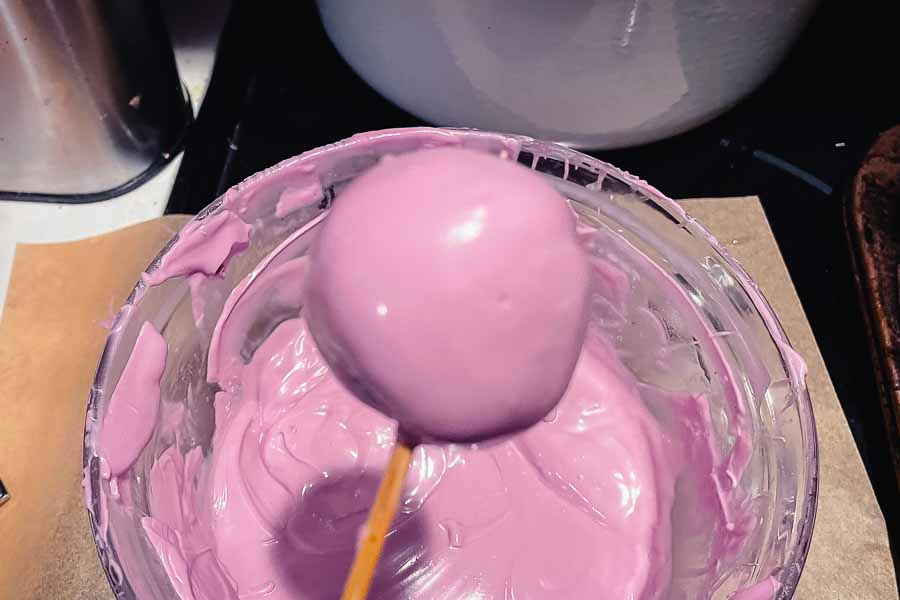
After an hour in the refrigerator, I was ready to dip and decorate my truffles. I began by melting 12 ounces of lavender candy melts in a double boiler. The melted candy was very thick, so I added vegetable oil 1 teaspoon at a time to thin it. By the time I thought it was thin enough, I had added 8 teaspoons of oil. If I had read the instructions on the bag, I would have seen the maximum was 2 teaspoons of oil. Eek!
The instructions say to pick up each truffle with a fork, dip it into the candy, tap off the excess, and place it onto parchment paper to dry. Sounds simple, but my truffles kept falling off the fork no matter how hard I speared them. I had to drop each truffle into the melted candy, roll it around to coat it, then scoop it up and place it onto the baking mat I used instead of parchment.
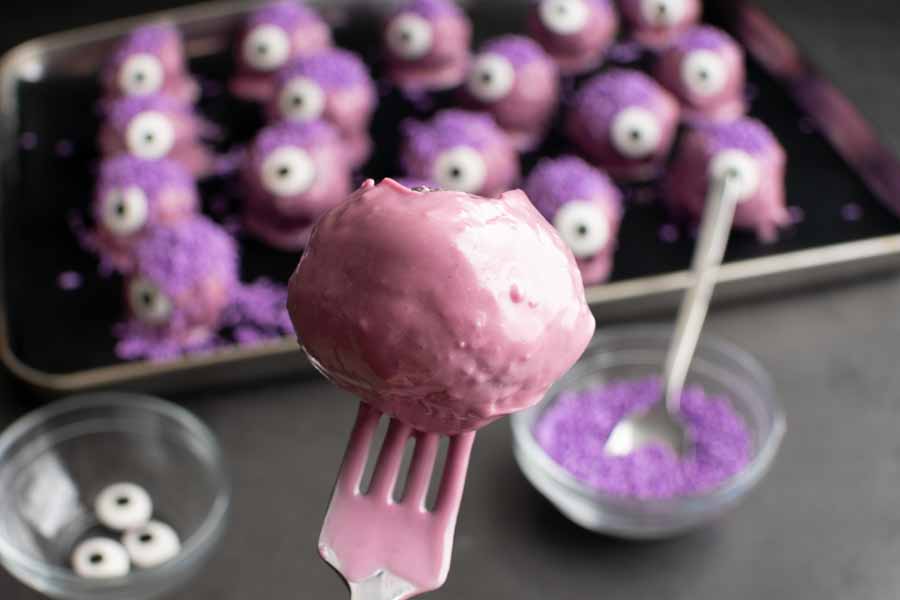
That created some pooling under the truffles because I couldn’t tap off the excess candy. I also think I thinned the candy melts too much and that contributed to the pooling too. It also didn’t do much to disguise every lump, bump, and imperfection in the underlying truffle that a thicker coating would have.
I made sure to decorate each truffle as soon as I dipped it. It turns out that it was super easy to get bits of melted lavender candy onto the whites, and the black part ran if any moisture touched it. I also could have been more careful with the sprinkles. They got everywhere!
So while my Monster Truffles weren’t perfect, the drips and imperfections kind of worked. I think my monsters were more like The Blob than Monsters, Inc., but they were still cute and tasted amazing!
My Second Batch of Monster Truffles
We loved the taste of these truffles and the pictures were cute, but I was bothered by my mistakes. Could I make better-looking Monster Truffles now that I realized where I went wrong? I had to find out, so I bought more ingredients and gave it a go.
I managed to find lavender candy melts locally this time, but they were out of candy eyeballs. Instead, I ordered some colorful Halloween sprinkles with eyeballs in them. They were smaller than the first ones, but the sprinkles were so cute!
I made candy eyeballs!
When the sprinkles arrived I realized the eyeballs in them were a little small for this. As usual, I asked the Google if there was a recipe for candy eyeballs, and it delivered. There were several recipes to choose from, but I settled on the easiest. I had some white royal icing left over from another project, along with all the other ingredients and equipment, so I tried my hand at making Candy Eyeballs.
My piping skills are almost non-existent, so they didn’t turn out great. I put printouts of small circles underneath the parchment paper, and I got pretty good circles after a few practice eyeballs.
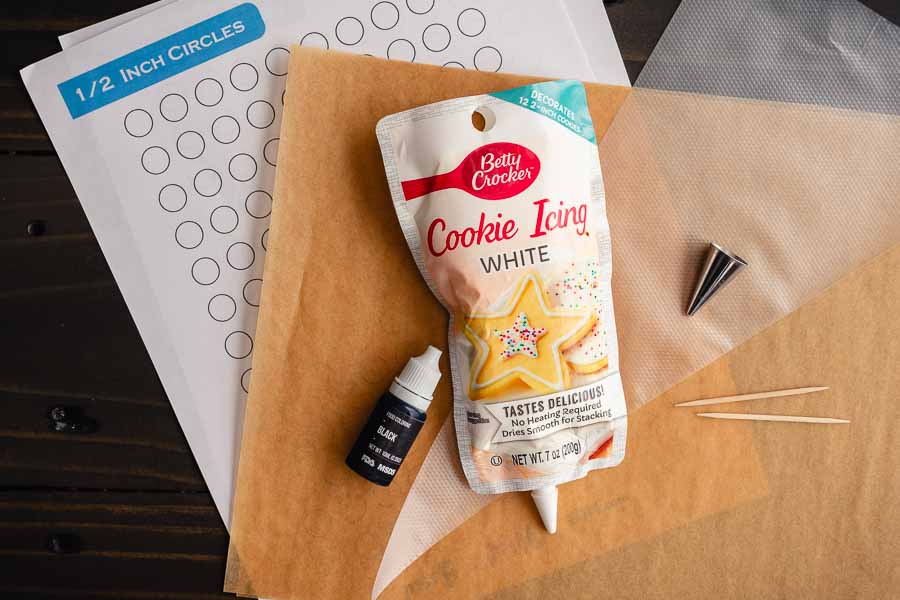
Unfortunately, the black pupils sunk into the whites as they dried overnight. I probably should have let the whites dry more before adding the pupils. But it was a learning experience, and there were enough good ones for this batch of truffles.
Then I made more Monster Truffles
And, if I’m being honest, this batch (of 22 truffles) didn’t turn out better than the first. I followed the instructions on the bag and melted this batch of candy melts in the microwave. I even used 2 bags so the melted candy was deep enough to submerge the truffles.
But alas, no matter how hard or what technique I tried, I couldn’t get a smooth finish. The candy was way too thick and left swirl marks. And most of the truffles fell off the fork when I tried tapping off the excess candy.
I didn’t think I would need to, but I thinned the candy with vegetable oil. Once it was thin enough, I kind of got a smooth finish by swirling the speared truffle through the candy in a circle. Unfortunately, I messed up the finish as I tried to get the truffle off the fork. I was able to paint over the dent with my pastry brush, but it wasn’t perfect.
So the final result is I am not good at making truffles. At least not candy-coated truffles. But I think the imperfections in these worked since they are monsters. Plus blobby monsters taste just as good as not blobby monsters, and hubby and I had no problem with an extra batch of these cute, tasty Halloween truffles.
Timing
This recipe lists 20 minutes of prep time, 1 hour to chill, and 1 hour 20 minutes total. I went a little over that, but I’m not surprised. Here’s how my time was spent:
- 7 minutes to prep and make truffles
- 1 hour to chill
- 26 minutes to decorate
- 12 minutes to melt and thin candy
- 14 minutes to dip and decorate
- 1 hour 33 minutes total
I worked on the truffles very carefully once I realized how touchy the cady eyeballs were. It was easy to get melted candy on the whites, and the black pupils ran if any moisture came near them. The extra time to thin the candy melts with vegetable oil, adding 1 teaspoon at a time, is included.
I spent 1 hour 35 minutes just decorating the Monster Truffles on my second try. I really took my time trying to get a smooth finish. That includes multiple times heating the candy in the microwave, thinning it with vegetable oil, and adding the sprinkle and eyeballs.