
Hey there! So we’ve been busy over the past month or so, and my husband and I have given our kitchen a makeover. Plus it was long overdue and much needed, and I’m so excited to share it with you!!
Grab a glass of iced tea, put on your stretchy pants or get comfortable however you prefer, and sit back for a long-ish read to find out the good, the bad, and getting rid of the ugly.
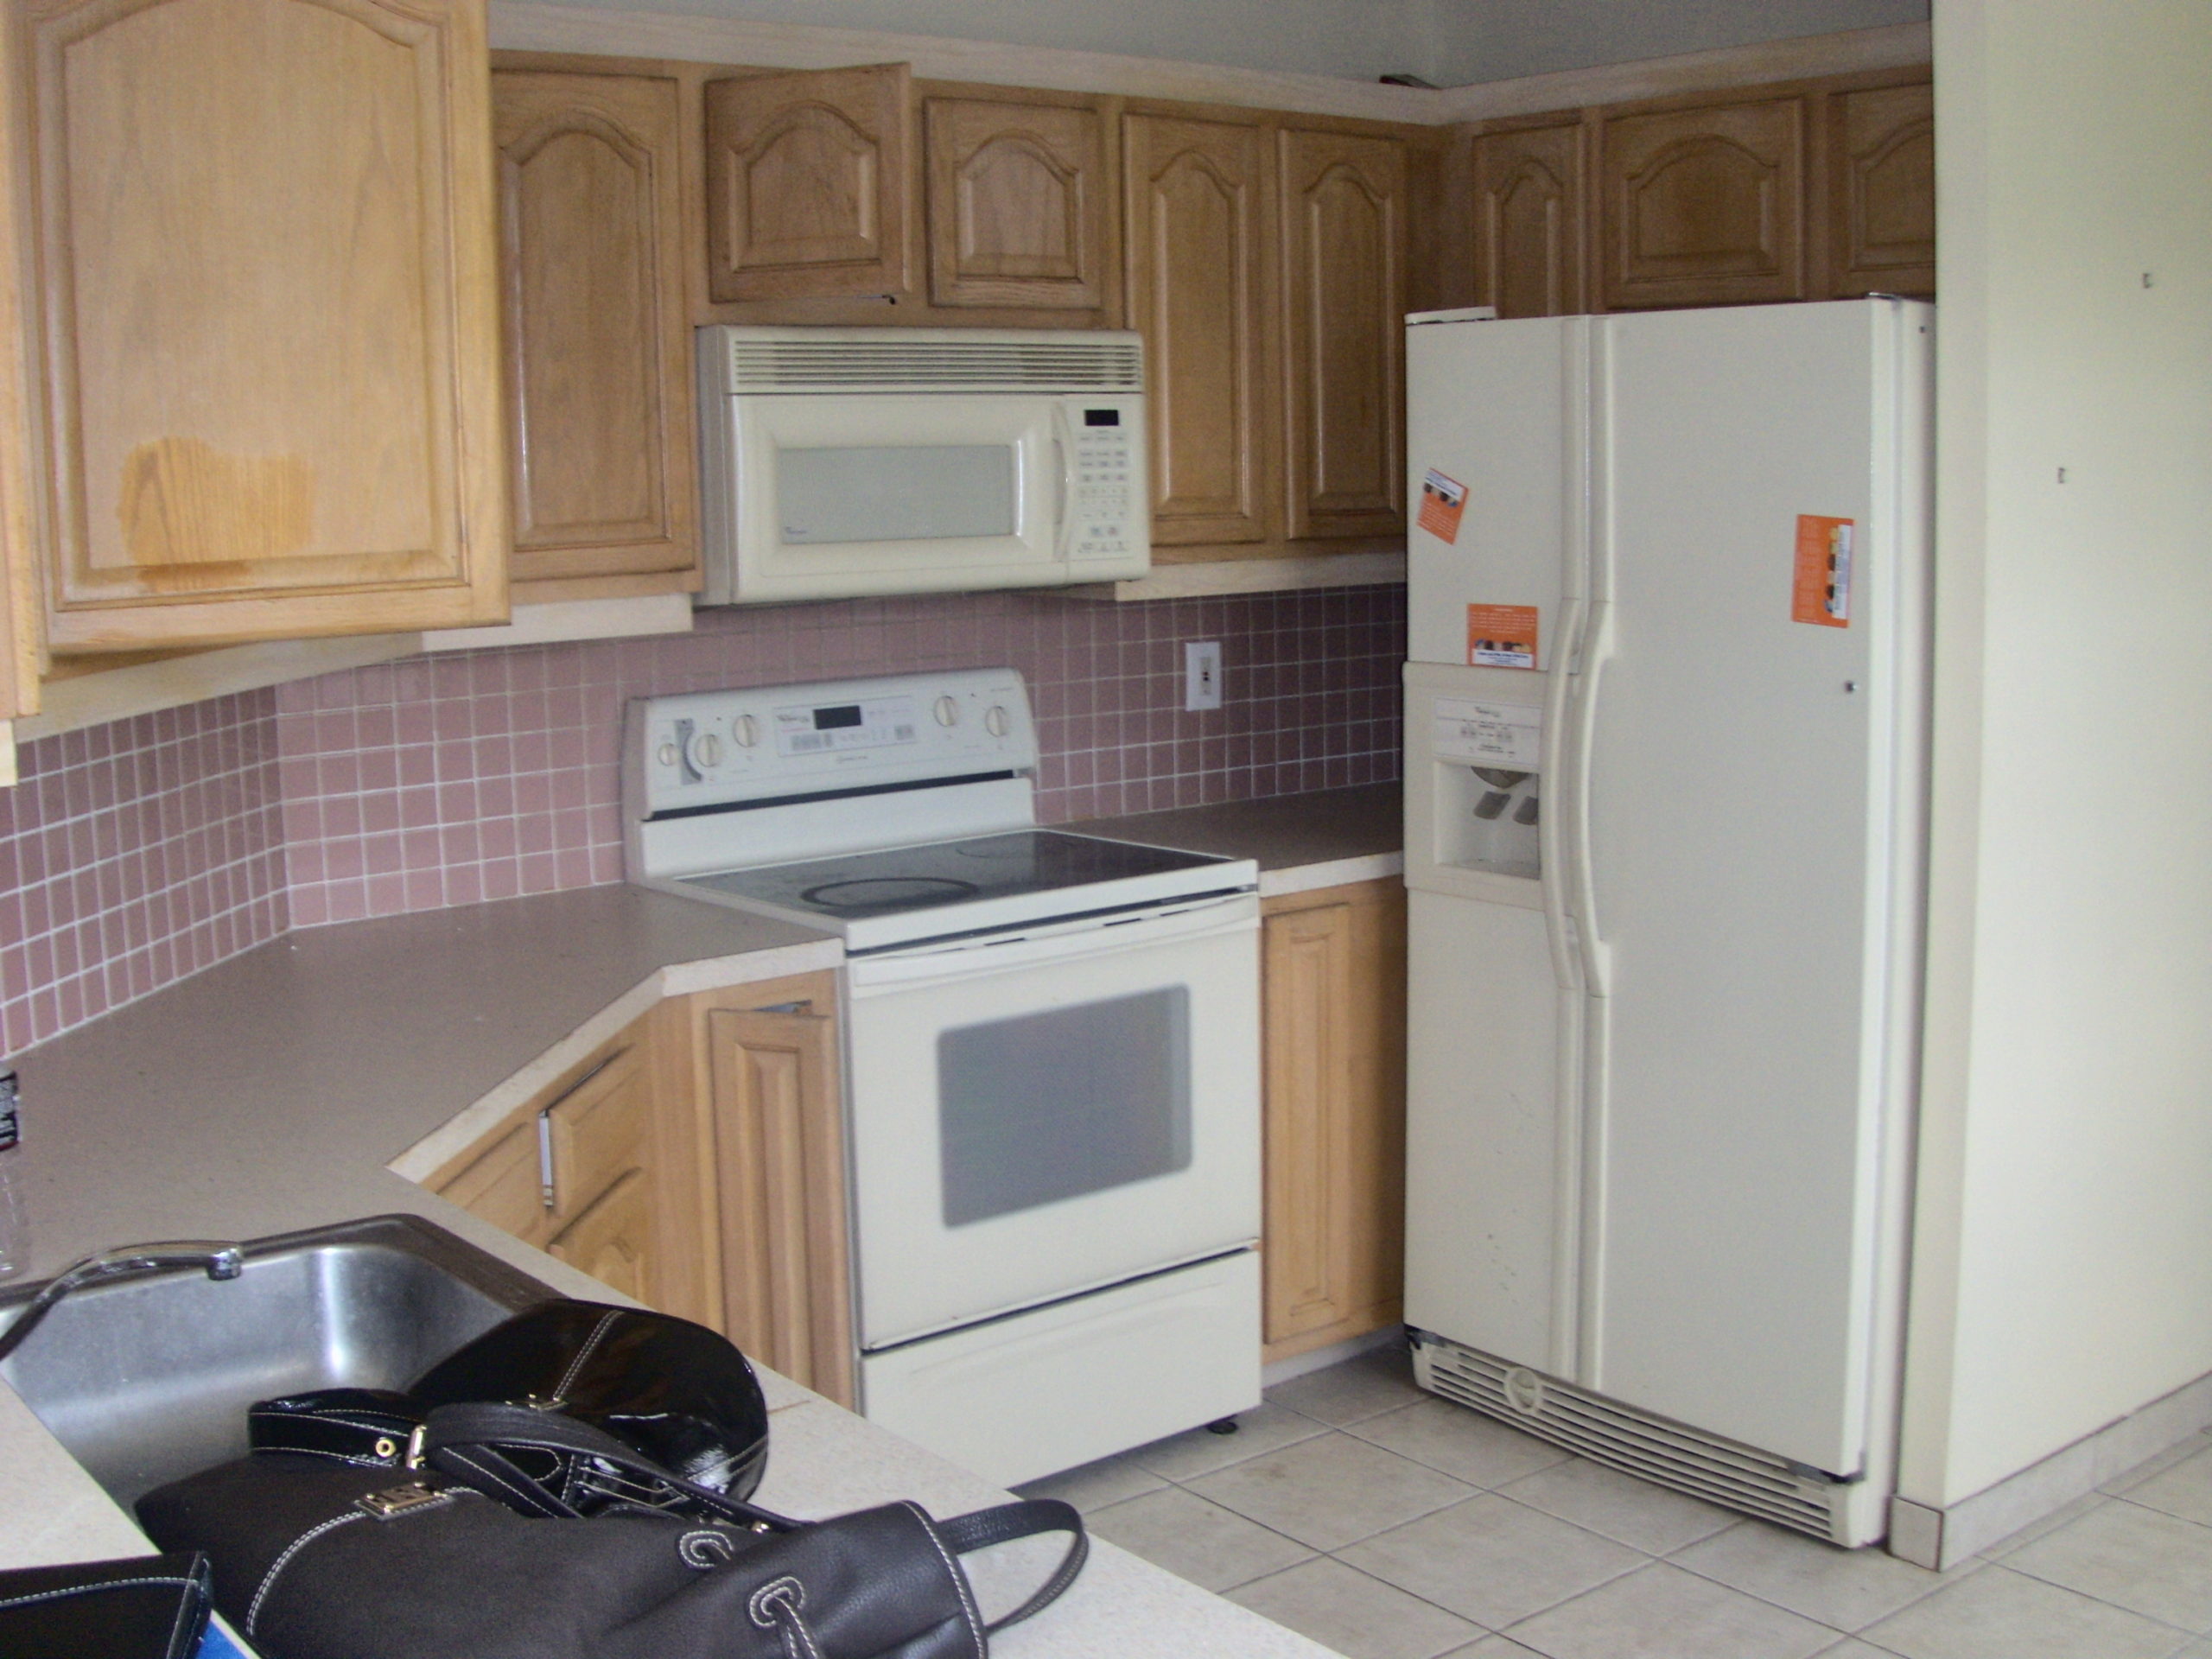
Before the Makeover
Our kitchen was straight out of the 90s with oak cabinets, a dusty rose tile backsplash, and laminate counters that were a random grey and pink/peach pattern. I guess they were supposed to look like stone, but they just looked more like vomit. Yuck!
When we moved into the house about 10 years ago, we had to replace the white appliances. We didn’t have the budget for stainless steel, so I went with black. We also tried painting the cabinet doors dark brown (sorry I don’t have pictures), and it held up reasonably well. I had a vision of the kitchen I wanted, but I think renovation fatigue hit, and the kitchen just stayed that way.
Planning
Fast forward to 2020, and I finally have had enough of my ugly kitchen. It’s hard to blog about food and hide your kitchen! I’m not sure which idea I got first, the countertop or the backsplash, but that’s where this all started. It led down a rabbit hole to some serious research.
We’re talking Houzz, Home Depot, Amazon, Pinterest, YouTube, and more, I’m sure. And that, in turn, led to adding more stuff. I hated my faucet, so why not add one of those? And then I found a groovy soap dispenser and these things called workstation kitchen sinks. They have a ledge that allows you to add a colander, cutting board, and dish rack as needed. Genius!
Well, I should paint my kitchen cabinets while I’m at it, and adding handles will help keep my fingernails from chipping the paint on the edges. Shoot, we need an electrician to fix some stuff, too, so might as well get that done while we’re at it. I’m sure you see where I’m going with this! Honestly, I was surprised that all this was well within our budget when I added it up. I really thought my math was off, but checking and rechecking said it was correct. Okay, the spreadsheet’s math was correct. ?
Then there was the all-important question of how long this would take. I planned for a month without a kitchen, so that meant working ahead on my blog and social media posts. I didn’t want to have to worry about suddenly going dark online. So I did more research, a lot of cooking, lassoed the husband, and ordered a lot of stuff from Amazon and Home Depot.
We didn’t have a huge budget (read on for a breakdown), so a lot of what we did was cosmetic. Also, we did most of the work ourselves, and that saved major bucks. I’m handy, but I’m also disabled. My main issues were fibromyalgia plus some pretty intense neck and back problems. I almost never mention it here because this is a food blog, not a health blog, and it’s my escape from all that.
Still, I did a lot of thinking about whether or not I could handle this project. I could before, but things are very different now. My mobility and range of motion are severely limited, and I’m still coming to terms with that. But my husband was more than willing to be the muscle if I was the brains!
I decided I would have to work slowly on my parts, take lots of breaks, and keep my ice packs and pain pills handy. It was frustrating, but my husband really stepped up and took direction very well. ? Plus achieving goals really helps with the depression that has come with the disabilities, so I had high hopes for success.
Getting Started
But anyway, first up was calling an electrician. We had a recessed light above the sink that stopped working a while ago. There were also a couple of outlets that had stopped working, so getting that fixed was a nice way to kick off this project.
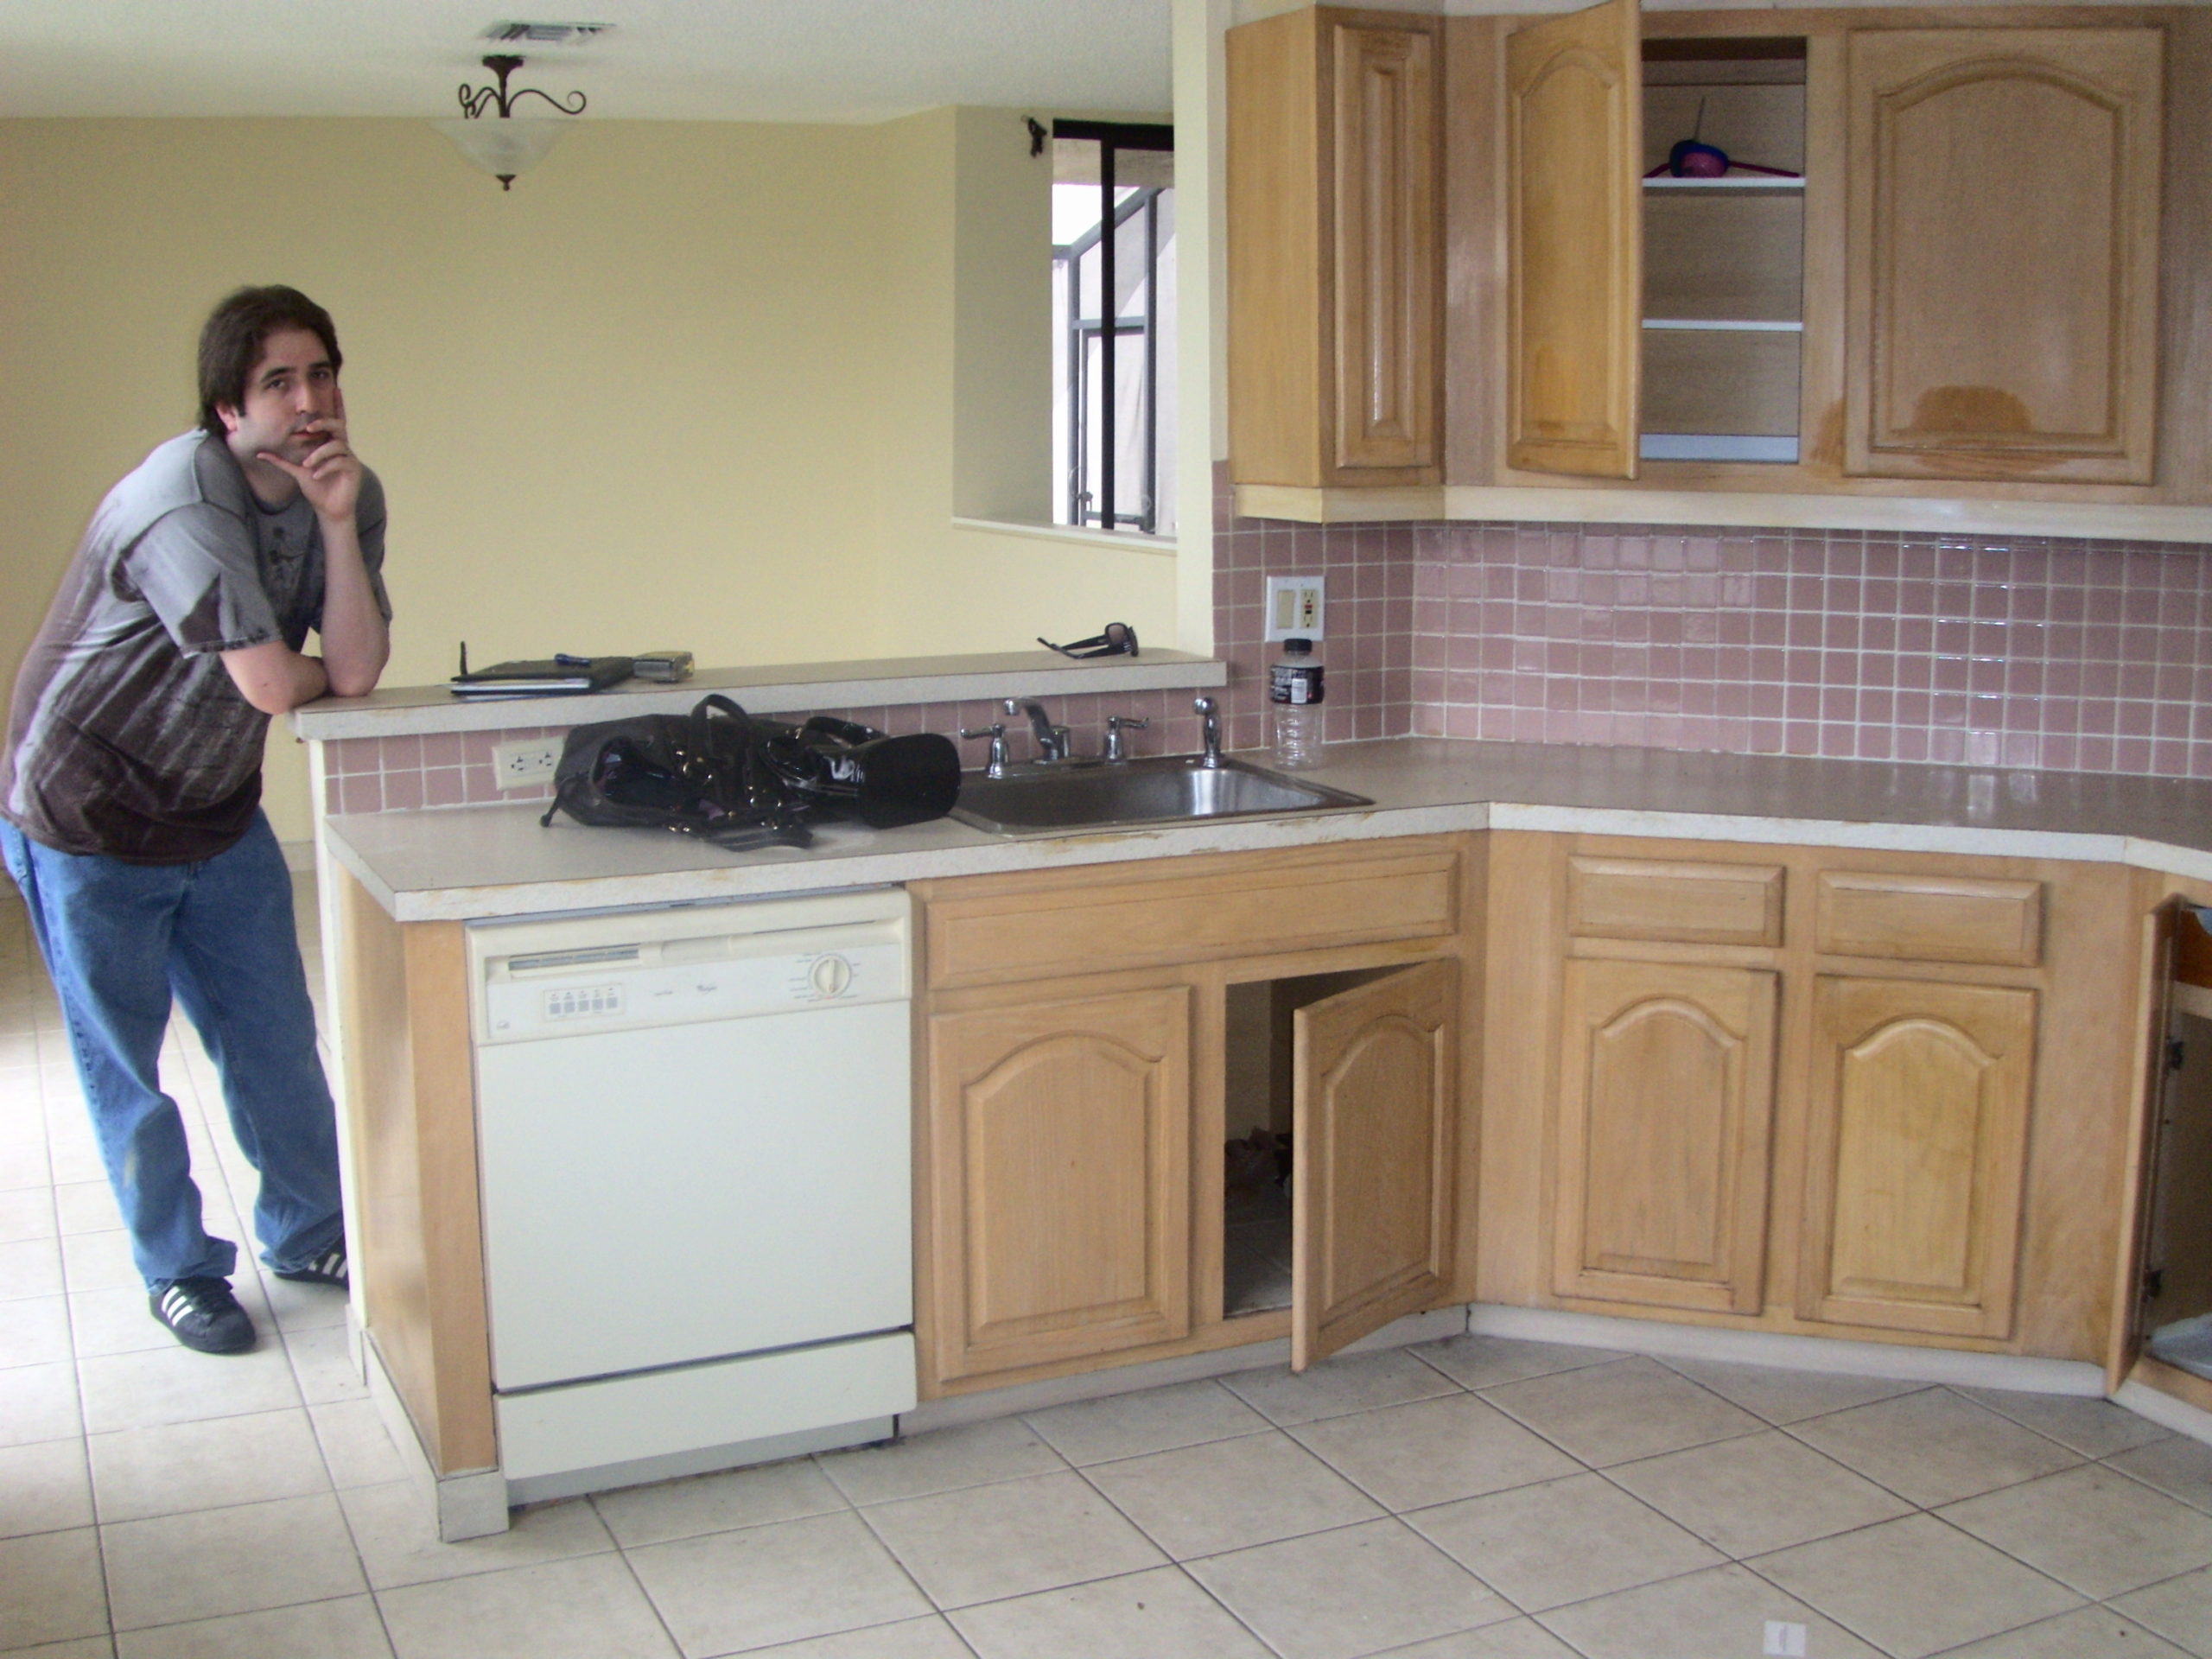
We got started on the demo and prep work while we awaited the appointment for the electrician to come out. That was intense! We had a lot more to do than met the eye. We started by removing the sink and garbage disposal, removing the cabinet doors, and moving the refrigerator and stove out of the way.
This is when I realized the ice maker and water dispenser in the kitchen door would no longer work because the water supply comes from the cold water valve we had to turn off when we removed the sink. Ice trays got old real fast. But I quickly discovered I could buy a brass cap for the part of the valve that led to the faucet. That meant I could turn the valve back on without flooding the kitchen, and voila! Our ice maker and water dispenser worked again.
The last part of our prep work was cleaning the counters and backsplash with a degreaser and covering the floor and anything we didn’t want to ruin. I mostly removed cabinet doors, and I was crazy sore the next few days after that.
I started having doubts about this and wondering if I had taken on too much. But my kitchen was demolished, and the only way was forward at this point. Right about then the electrician showed up and did his thing. It sounds small, but it lifted my mood, so it was on to the real work!
The Countertops
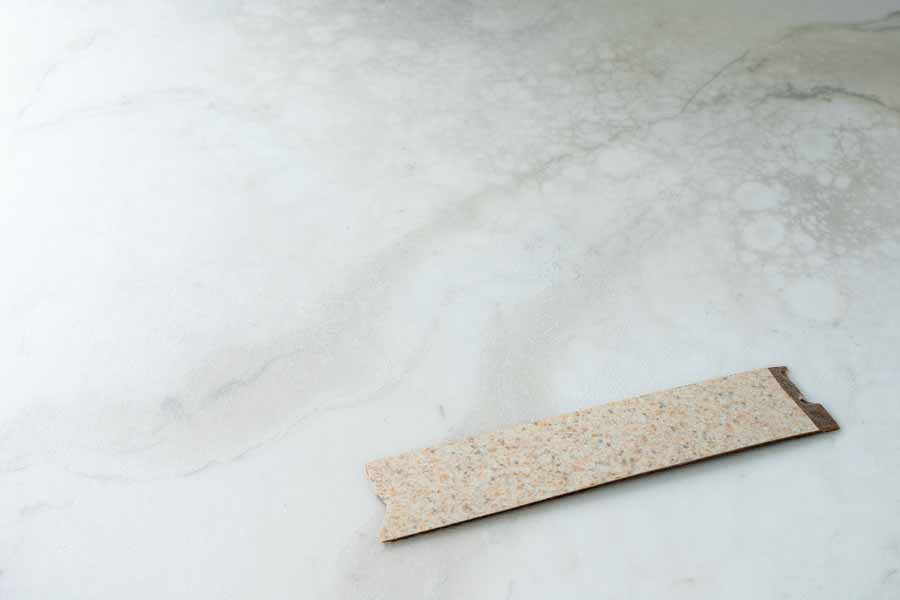
The first thing we did was tackle the counters. That ugly laminate had to go! I looked into tons of options and settled on epoxy because it was the most affordable, durable, and customizable.
Hours and hours of watching how-to videos on YouTube was worth it! I chose a subtle white and grey Carrara marble-like pattern with a matte top coat for extra durability. I also added faux rock edges with Bondo, and I’m loving the effect!

My aunt stepped up to help with this part, and it was nice having her around. We tackled the counters in sections over a few days. One day to prep the counters by sanding, adding the rock edge, priming, and painting.
We divided the counters into four sections for the actual epoxy part. I’m so glad that was possible! I tried to think of it as fun art therapy, but man I was so sore the days after we did it! What kept me going was thinking of it as fun art therapy and that I was starting to see my new kitchen. I had the idea in my head for so long, and it was happening!
The Backsplash
Once the countertop was cured, I got started on that ugly pink backsplash. I went the easy route here and chose a white stick-on subway tile with a grey grout effect. It complimented the countertop nicely, and it was pretty easy to install.
I did try that trick where you spray the sticky side with a soapy mixture to make it easier to adjust the tile when you stick it on the wall. It did not work for me at all. Instead, I just ruined a tile ?
I also came up short at the very end and had to order two more packages. But I was very fortunate to have them arrive in a couple of days so I could finish the backsplash. Adding screwless switch plate covers really finished it off and made it look so nice.

Y’all this was the worst part of the project for me because of my back. My back decided it hated the ways I had to bend to get the tiles aligned, and breaks, ice packs, IcyHot, and meds did very little to alleviate the pain. I can tile, so I’m now certain removing the old backsplash and replacing it with new tile and grout would have killed me.
Between that and missing cooking, the sink, and the garbage disposal, I had another bout of severe doubt. Having to take a few days to recover didn’t help my mood too much, either.
All That and the Kitchen Sink
Next up was the kitchen sink. I originally wanted a pull-down faucet, but it just didn’t work in the space. My sink is up against a bar that faces our dining room, and the tall faucet seemed awkward. I ended up changing to a shorter pull-out faucet that I like even better, so all is good.
But that sink! I went from a double bowl to a single. I had no idea how much I would appreciate being able to fit a large saute pan into the sink, but I’m learning LOL. It also has a ledge for a colander and cutting board, so I have a little more workspace. I really like that because counter space is limited in my kitchen.
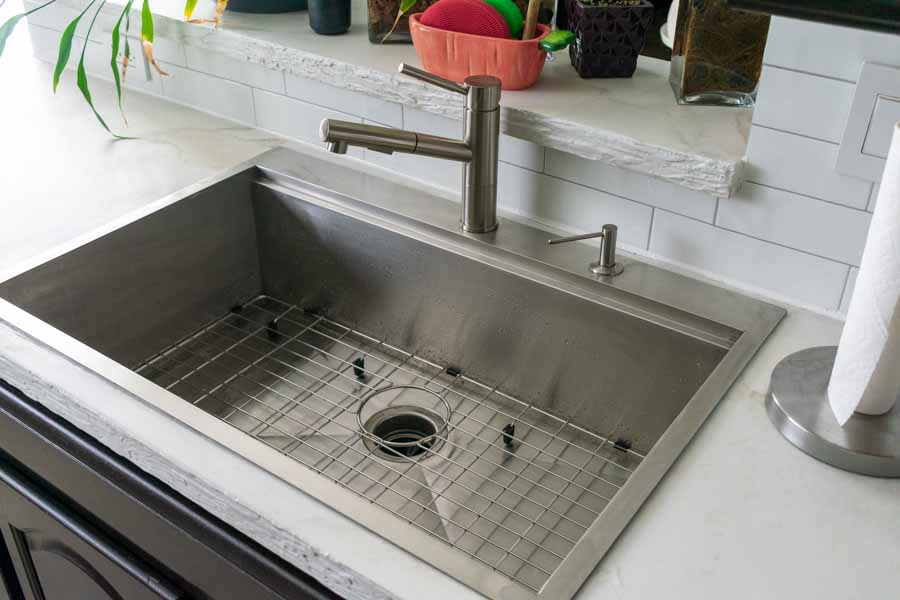
I also found this clever soap dispenser that feeds a tube directly into a bottle of dish soap. No more trying to funnel soap into the dispenser only to have it overflow or not knowing when I’m low on soap. It took about a million pumps to get the soap to feed through the tube, but I’m loving it. Sometimes it’s the little things ?
We had to have a plumber do this part, and it was ungodly expensive. Worth it, absolutely necessary, but yeah… It kind of hurt when he swiped my card. Not being able to do something myself was part of that pain. I hate to admit defeat, but it happens to us all, right? But seeing the new sink installed made it all go away, and I smiled every time I looked at it over the next few days.
The Cabinets
Last up was the cabinets. I gave them a darker paint job so they would blend in with the appliances and make the white counters and backsplash pop. I also added soft-close hinges and some black knobs and pulls.
This felt like the biggest part of the project, but it was also the easiest since I was able to divide it up and do a few doors at a time. Seventeen doors and two drawers had to have the existing hinges removed, then be cleaned, primed, painted, and reinstalled.
I tried a paint sprayer on the first few, but it really didn’t do a good job. I’m glad I started on the doors that are above the refrigerator since we can’t see them! I ended up using a foam paint roller and a brush for the inset details. This took days (maybe more than a week, I didn’t count), so I just wrapped my brush and roller in Press ‘N Seal so I didn’t have to clean them constantly.
I also mixed polyurethane into the paint along for extra durability with some Floetrol to make it go on smoother. That made the paint a bit less opaque, so I had to do three coats on each side instead of two. The alternative was to paint and wait seven days for it to cure before coating with polyurethane to prevent bubbles. I’m not patient enough for that!
I don’t think it looks like a pro job, but it’s still an improvement. I’ll have to go back and fix a few drips I missed one of these days, but that shouldn’t be too much work.
Wrapping It Up
Whew, typing it all up sounds so major! We did things in stages and allowed extra time because of my disabilities, but the results are absolutely fabulous!! It was worth the pain, frustration, inconvenience, and money to have a new kitchen that I love and am proud to show off.
And how much was it? you ask. If my math is right, our kitchen makeover costs were:
- Backsplash $318
- Cabinets $331
- Counters $965
- Electrical $106
- Sink & installation $1,048
- Misc. $114
- Total $2,882
I think we got a lot of bang for our buck(s)! We still need to paint the toe-kicks and update the under- and above cabinet lighting to LEDs. We still have the original fluorescent fixtures, and they’rere on their last legs. The electrician quoted us $800 for the lights and installation, but I DIYing it would be around $360.
But that’s going to have to wait a bit—my bank account and my body need a break, and I want to break-in my beautiful new kitchen. First up: White Wine Chicken Stew. And now I’ll be able to fit my biggest Dutch oven into my sink to wash it after. Like I said earlier, it’s the little things. ?
Hi there! This article couldn’t be written any better! Looking at this article reminds me of my previous roommate! He continually kept talking about this. I am going to forward this article to him. Pretty sure he’s going to have a great read. Many thanks for sharing!
Keep on working, great job!|
I really like it when individuals come together and share ideas. Great site, keep it up!|
Hey there! Do you use Twitter? I’d like to follow you if that would be ok. I’m absolutely enjoying your blog and look forward to new posts.|
I do, and you can follow me at https://twitter.com/HungryPinner or @HungryPinner
My partner and I absolutely love your blog and find almost all of your post’s to be exactly what I’m looking for. Would you offer guest writers to write content for yourself? I wouldn’t mind producing a post or elaborating on most of the subjects you write related to here. Again, awesome weblog!|
Thanks so much! I don’t have plans for guest posts right now, but perhaps in the future.
Very nice post. I just stumbled upon your weblog and wished to say that I’ve really enjoyed surfing around your blog posts. In any case I’ll be subscribing to your feed and I hope you write again soon!|
Glad to hear it! 😊
Wonderful article! Thank you =)
My brother suggested I might like this web site. He was entirely right. This post actually made my day. You cann’t imagine just how much time I had spent for this information! Thanks!
Thanks, Trudi!
Spot on with this write-up, I truly think this website needs a great deal more attention. I’ll probably be returning to read through more, thanks for the info!
Thank you!
That is really attention-grabbing, You’re an overly professional blogger. I have joined your feed and sit up for seeking extra of your great post. Additionally, I’ve shared your site in my social networks|
Thanks so much, Amelia!
Hey there! This is kind of off topic but I need some advice from an established blog. Is it tough to set up your own blog? I’m not very techincal but I can figure things out pretty quick. I’m thinking about creating my own but I’m not sure where to start. Do you have any points or suggestions? Many thanks|
Hi Shana! Questions are always welcome 🙂 I have a background in web development, so the blog wasn’t too difficult. I began by deciding on a topic and creating a business plan. I don’t have the link, but I’m sure there are plenty of templates you can download and customize (there are lots of blogs dedicated to helping people start their own blogs). Creating a budget was part of that and super helpful.
After that, I found a host and set up my site (domain name, WordPress, email, social media). I wanted a quick start, so I chose a pre-made WordPress template and customized it rather than starting from the ground up. While that was in progress, I worked on getting props and making a few recipes so I would have content on my blog when it was ready to be promoted. Making a checklist of everything I needed to do was very helpful.
The most important thing is to be disciplined about creating and posting content. I use a Google Calendar and Sheets to keep myself organized and Later makes scheduling social media super easy. It’s a lot of work, but I still enjoy it after all these years. It’s a continuous learning process, and I love that!
I hope this was helpful and wish you luck!!
Candice